Backsplash
-
1/4” Baltic birch plywood backer
2” green hexagonal mosaic tile
-
Makes the kitchen area feel more like a real kitchen
Helps define the space as a separate “room” within the van
Adds a pop of color and geometric design
A backsplash provides a durable, easy-to-clean surface behind the sink and stove
-
Plan the tile layout before starting to determine placement and minimize awkward cuts
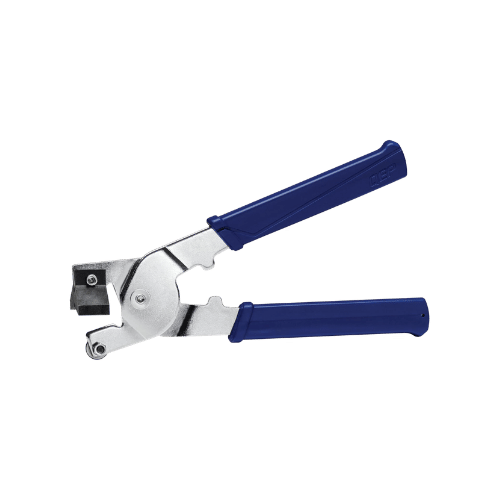
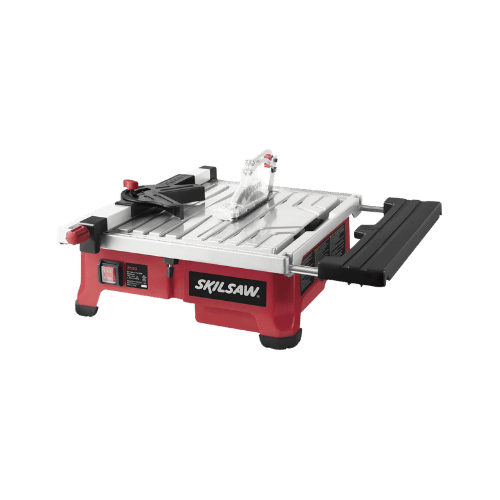
Cut tiles using a wet saw or handheld tile cutter
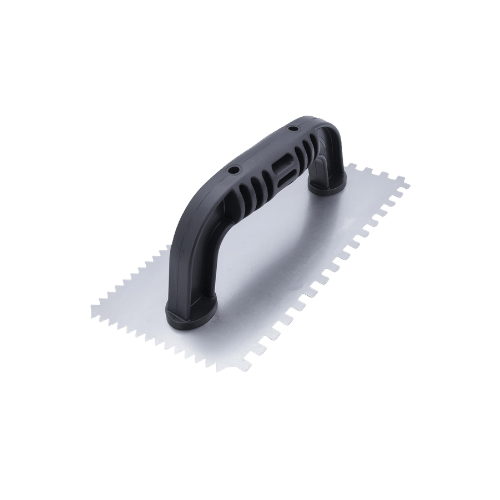
Follow the recommended adhesive trowel shape and size for proper coverage
Use tile spacers if needed to keep grout lines consistent
Use a rubber grout float to press the grout firmly into the joints
Use unsanded grout for the small joints between mosaic tiles
Wipe away excess grout and clean the tile using a damp sponge and water
Seal the edges where the backsplash meets the countertop or walls with silicone to prevent moisture from getting behind the tile
-
Mosaic tile sheets are easier to install since they come on mesh backing and reduce the number of individual tiles you have to place
Many people worry about installing real tile in a moving vehicle, but I haven’t had any issues, and I haven’t heard of others experiencing problems either
Real tile is heavy
-
Peel-and-Stick Tile
Easier and quicker to install with no cutting or grout required
Often doesn’t hold up well with temperature swings inside a van
Adhesive can lose strength in heat or cold, causing tiles to peel over time
No Backsplash
Continue the same wall material behind the kitchen area
Simplifies the build and reduces weight and install time
Works best if the wall material is durable and easy to wipe clean
-
I love having a backsplash in the van. Installing real tile in a moving vehicle is nothing to fear — it has held up great. It adds a fun element of design and color, helps the kitchen feel like its own space, and creates a surface that’s easy to wipe clean.

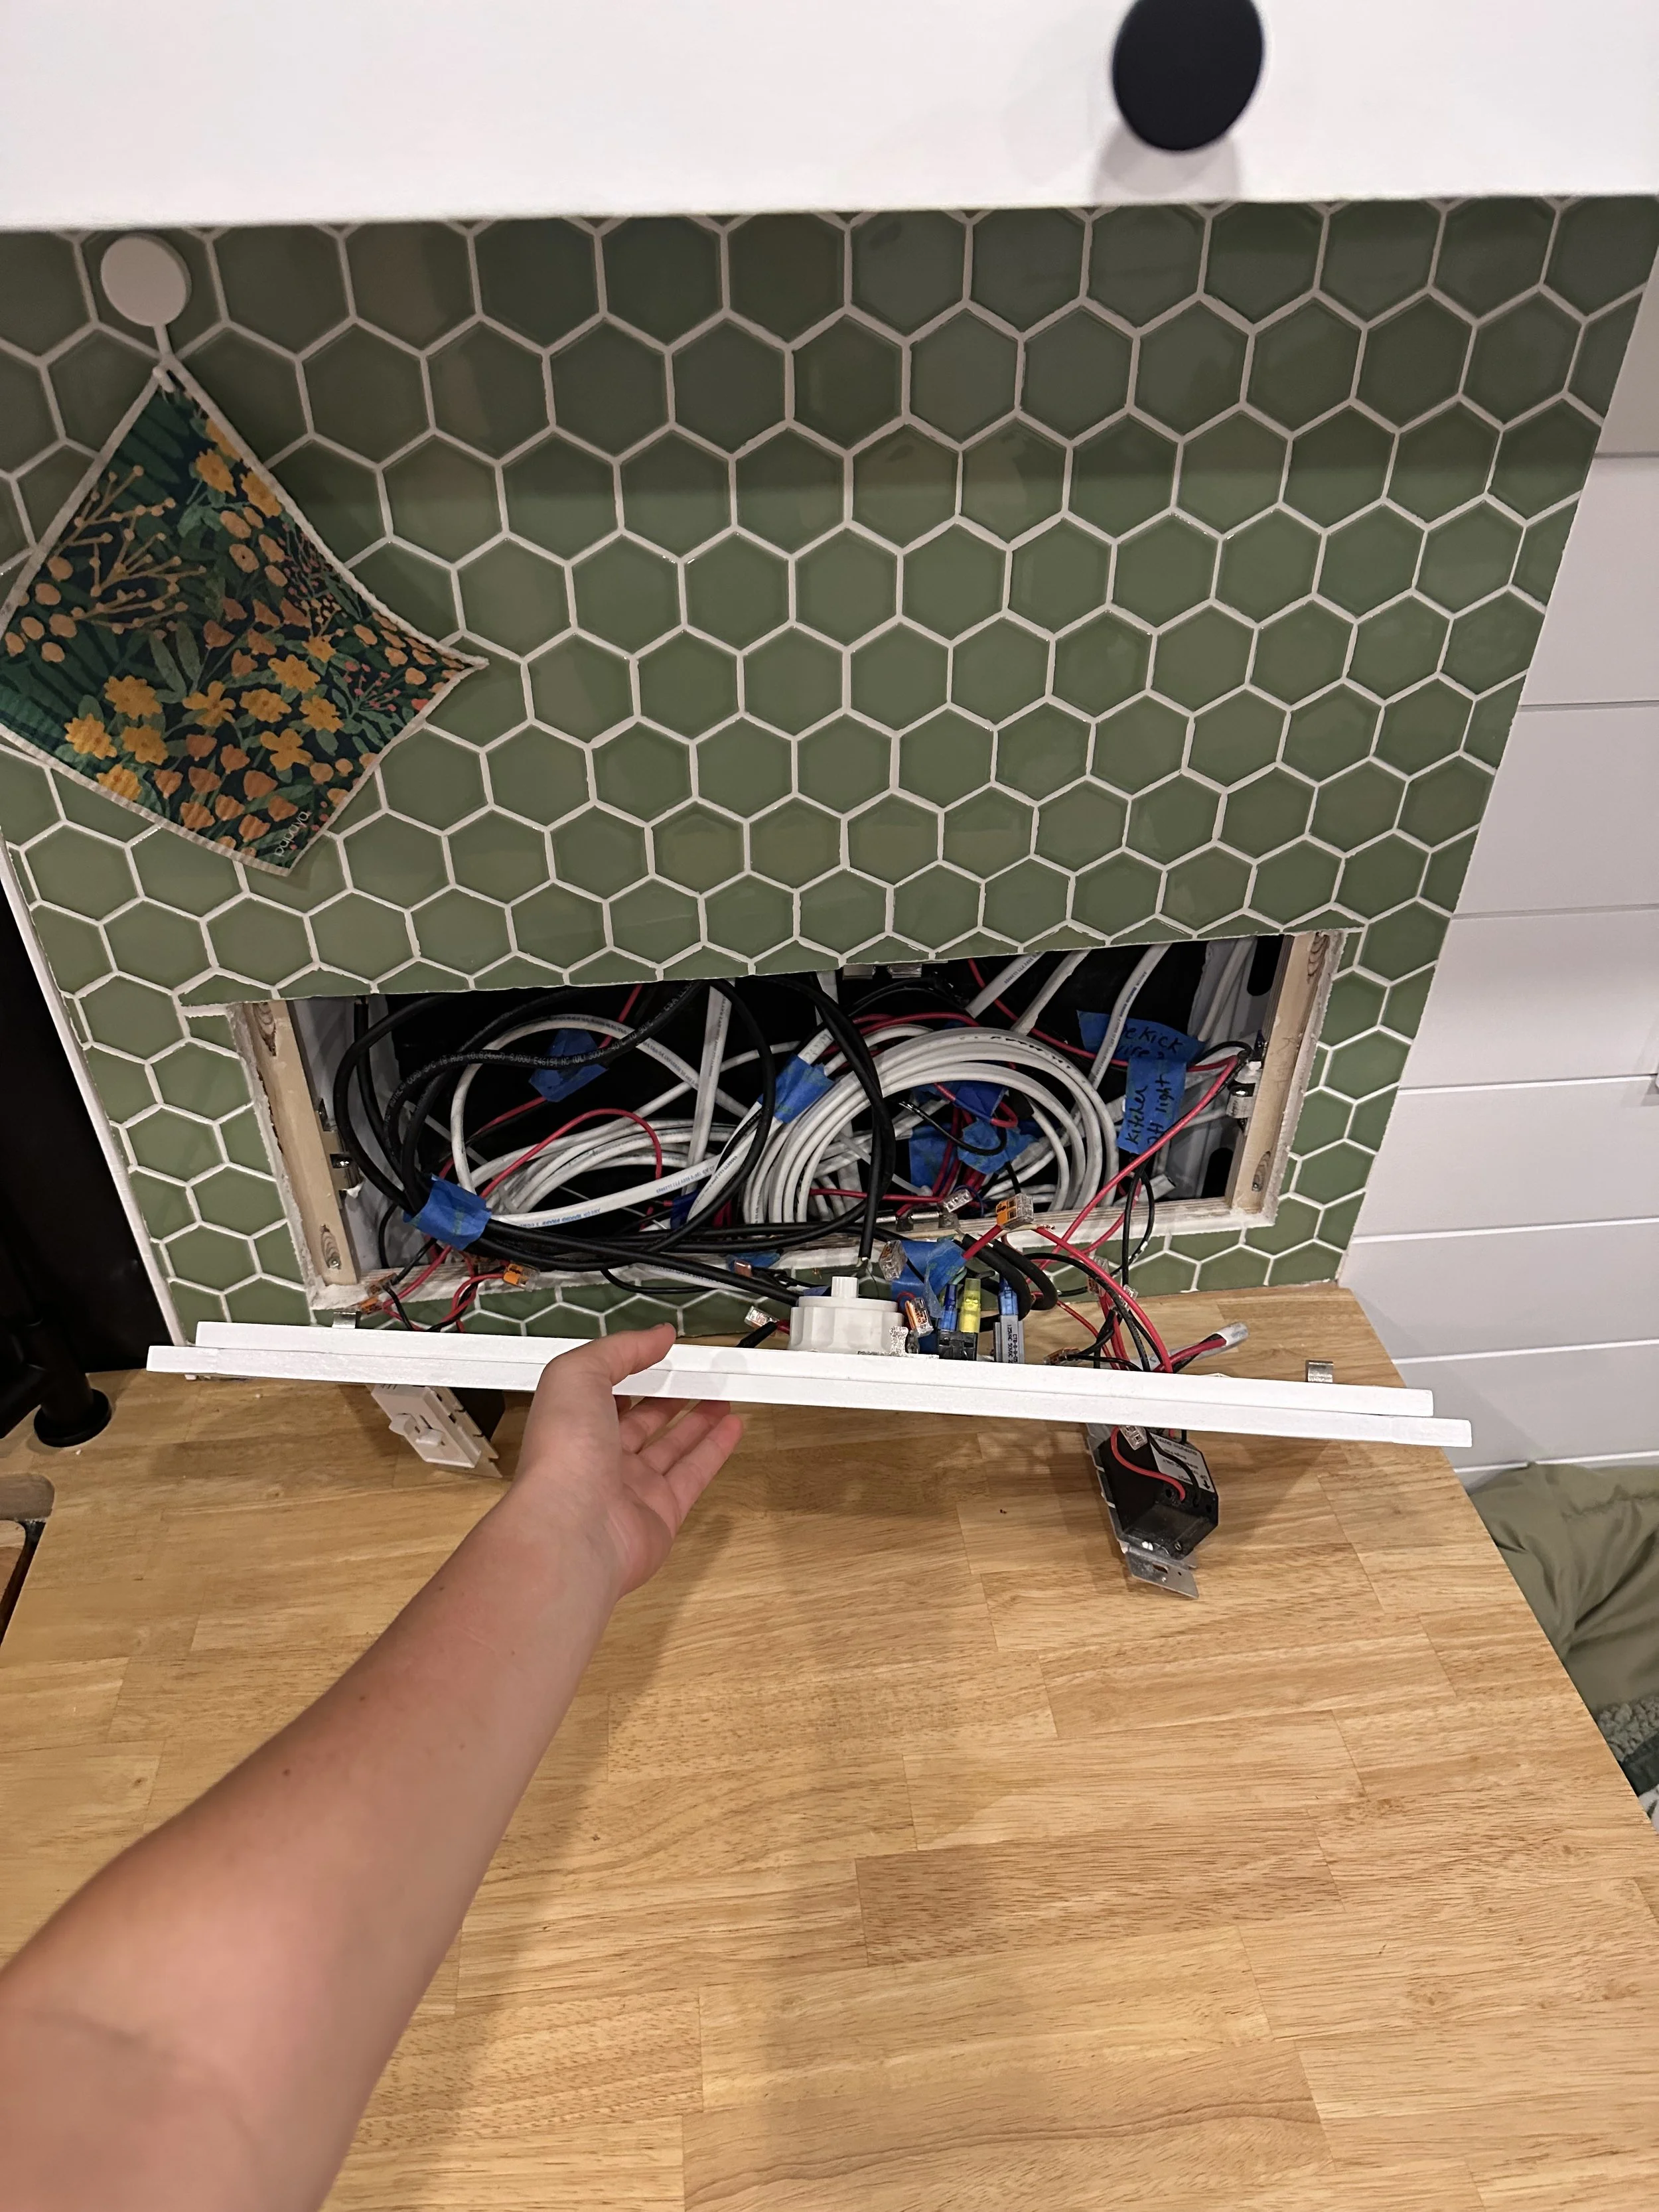
Control Panel
-
Removable kitchen control panel housing light switches, outlets, and rocker switches
Secured with two ball catch latches on each side of the panel
-
There is a lot of wiring behind this wall, so I wanted a panel that could be easily removed to access the wiring if anything needs to be added, changed, or troubleshot.
-
The backsplash wall is 1/4" backer board + 1/4" tile, so I used a 1/2" panel to sit flush within the wall opening
Added a 1/2" thick border with a 1-1/4" frame around the perimeter to give the control panel a finished look
Ball catch latches are mounted on the back of the control panel and connect to furring strips behind the wall to hold it in place
-
Plan the control panel layout before installing the backsplash
Label and organize the wiring behind the panel for easier troubleshooting later
Account for van structural supports behind the wall so electrical boxes have enough clearance
-
I highly recommend incorporating removable panels in areas of your build that contain a lot of wiring. Having easy access can save you a lot of time and frustration later if anything needs to be added, changed, or troubleshot.
Related Resources
Shop Product Links

As an Amazon Associate, Lauren will receive a small commission from any qualifying purchases made through these links, at no additional cost to you.Thank you for your support!Ready to build with confidence?
Follow step-by-step installation guides that break down the most complex parts of the build into clear, manageable steps.
Need help planning your build?
Book a 1:1 Consultation