Heater
-
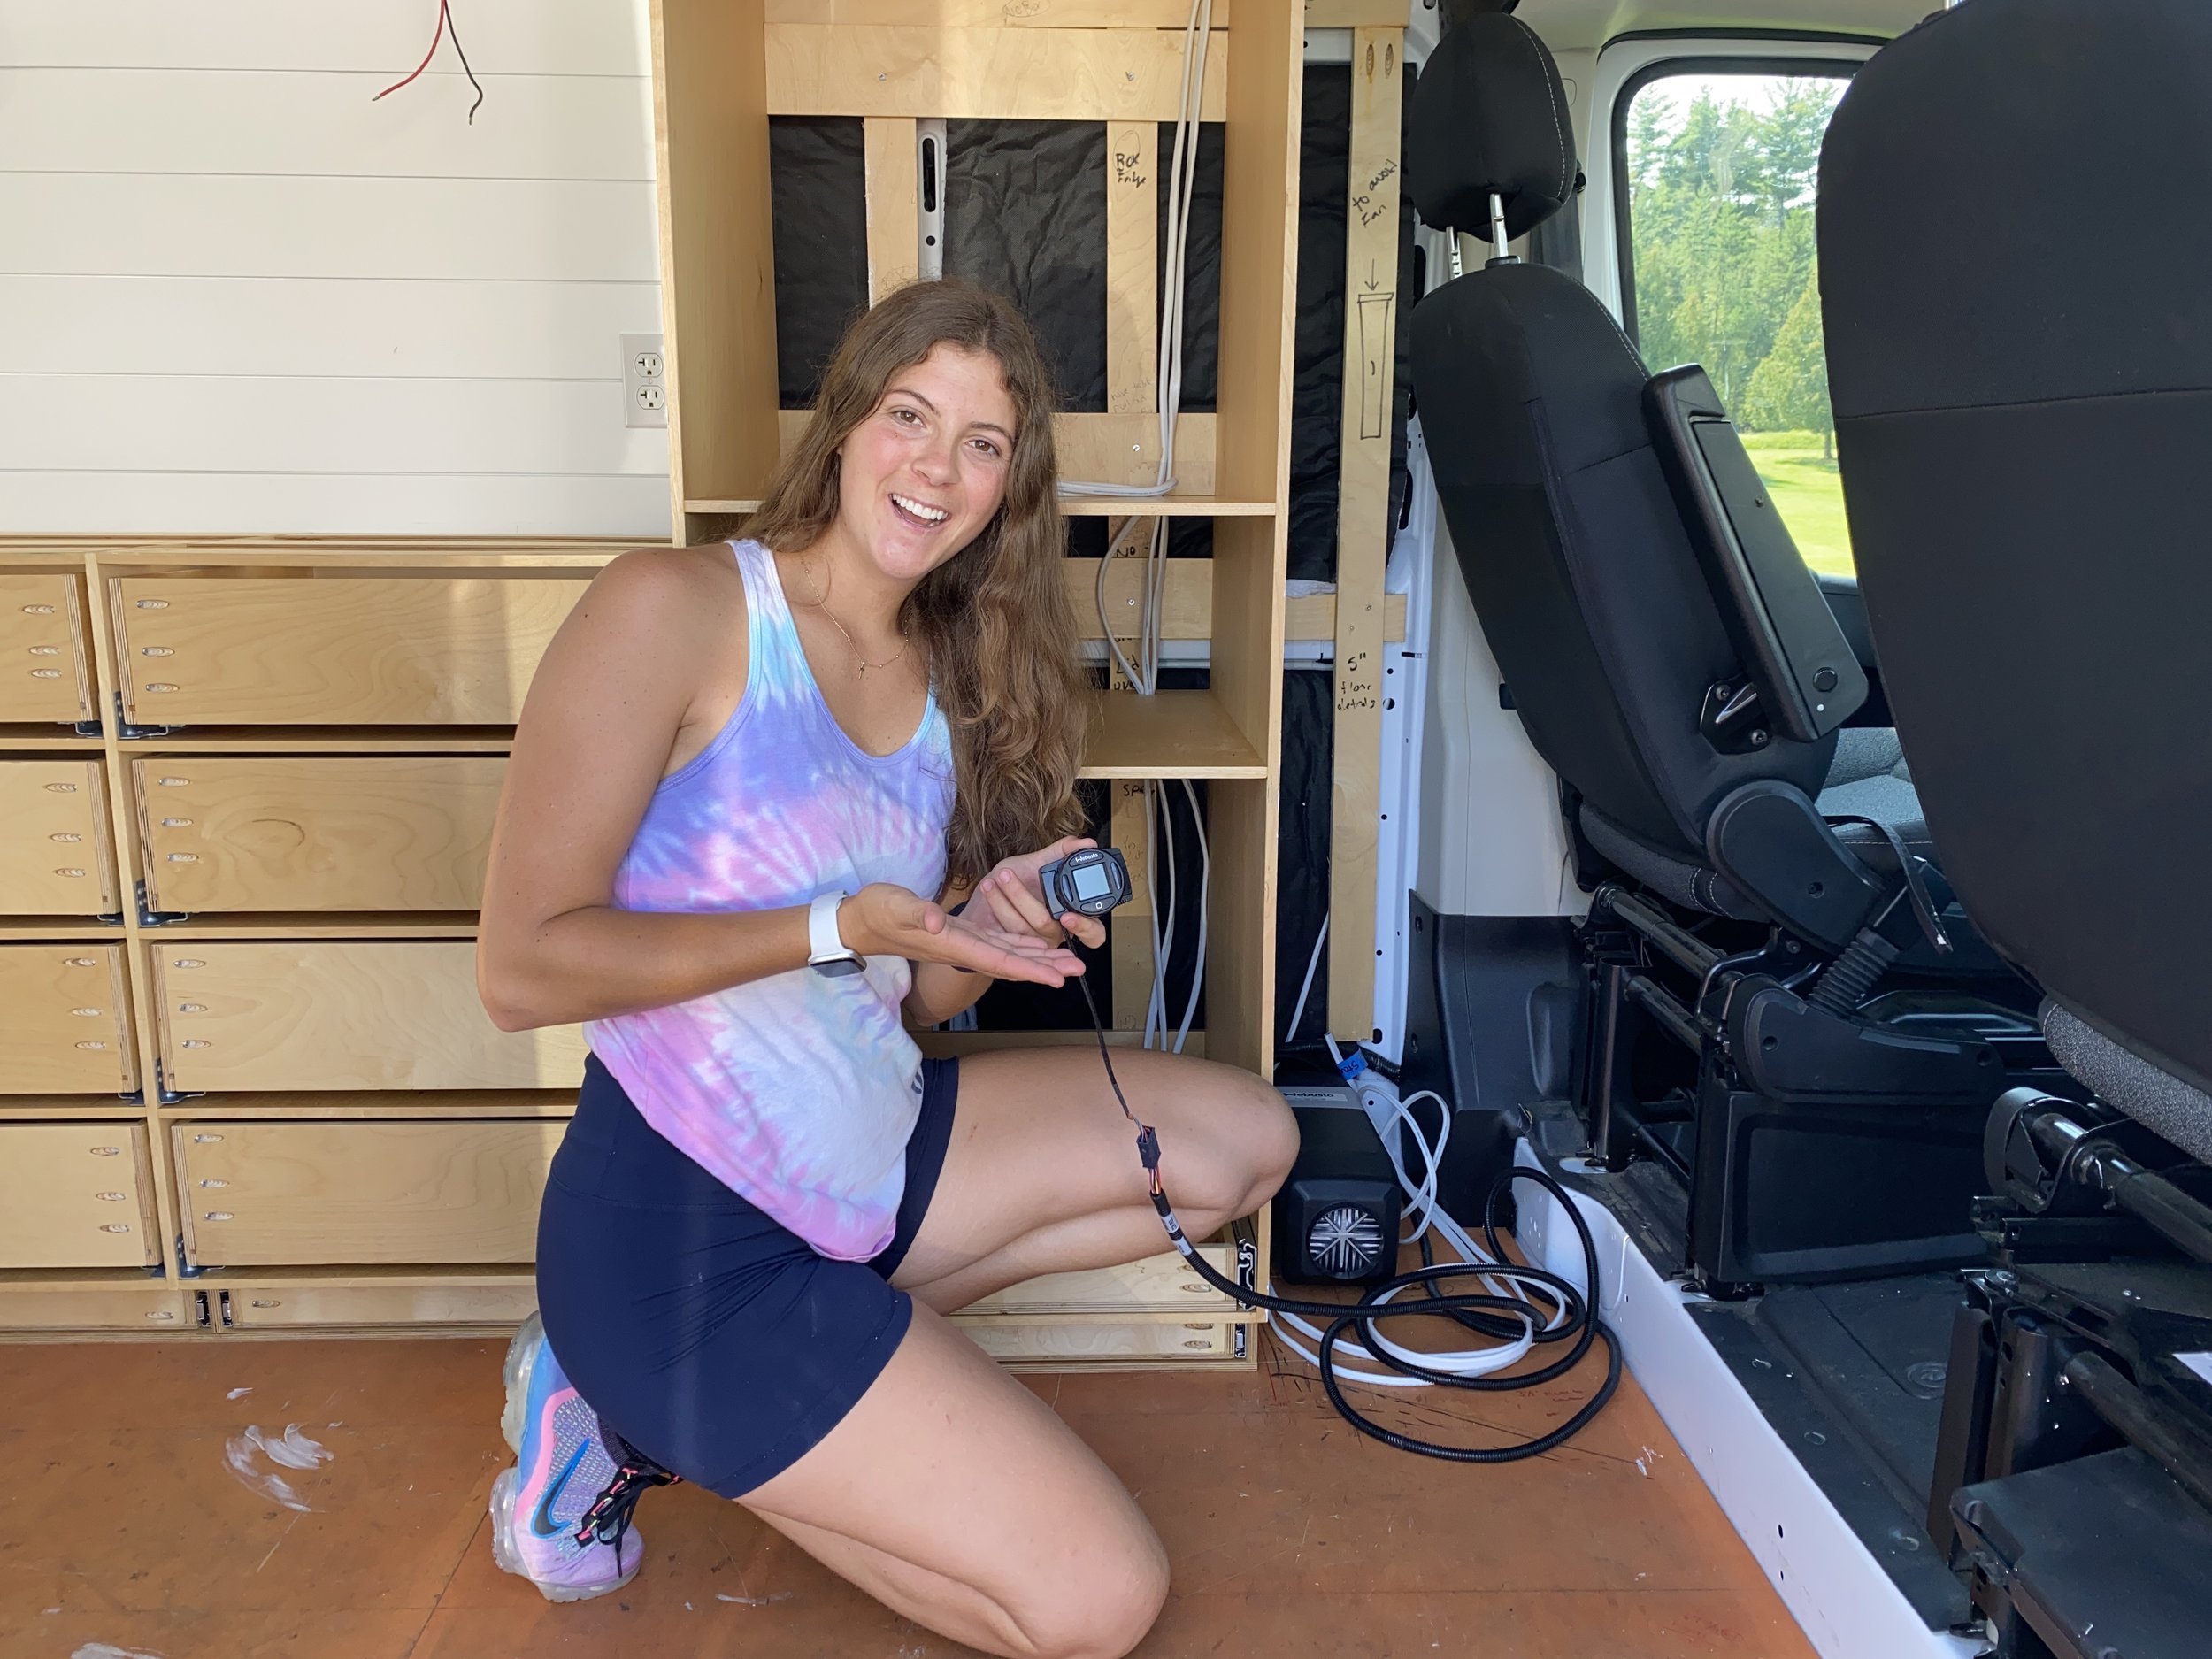
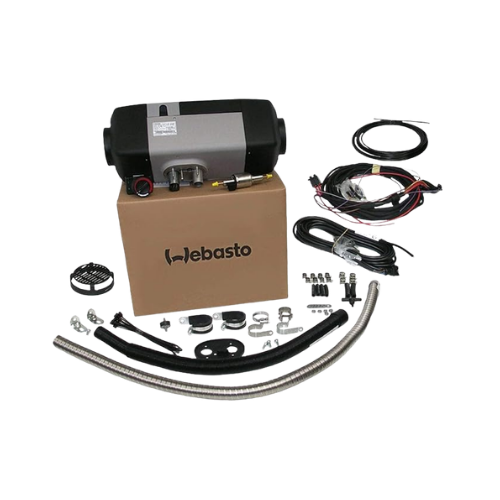
12 volt Webasto Evo 40 Gasoline Heater
Installed through the cargo floor behind the driver seat
Mounted beneath the step-up with the vent blowing toward the back of the van
-
To stay warm while traveling in colder climates
It performs well at higher elevations compared to many other heater options
Runs on gasoline and taps directly into the van’s fuel tank, so there’s no need to fill or store a separate fuel tank inside the van
Known for fewer error codes and reliability compared to many other heater options
-
The heater installs through the floor of the van, so plan its location carefully around your interior layout and any structures beneath the van
The heater taps into the van’s fuel tank using the auxiliary fuel port, which connects directly to the tank
Run the exhaust pipe and fuel pump underneath the van according to the heater’s installation requirements
Position the exhaust outlet away from doors and windows and extend it past the edge of the van to prevent exhaust fumes from getting trapped underneath and entering the van
Add ducting to the heater vent to help direct warm air toward the back of the van
Two fuse panel connections are required: one for the heater and one for the controller/monitor
-
Place the heater monitor in a central location — ideally near the bed — so it’s easy to control without getting up
The heater connects directly to the van’s fuel tank, so no separate fuel tank is required
Vanlife Outfitters sells a complete installation kit with the necessary components, which can be easier than sourcing parts individually
The heater should be run periodically (about once a month) to keep it maintained and operating properly
The heater will not run if the van’s fuel tank drops below approximately one quarter tank
Do not operate the heater while the van is running
Prime the fuel pump before the first use to ensure fuel reaches the heater
The monitor displays the interior temperature and allows you to set a thermostat so the heater automatically turns on when temperatures drop below your set point
I’ve run this heater for five days straight in single-digit temperatures with no sunlight for my solar panels, and the van stayed around 70°F while my batteries had no trouble supporting it
-
Webasto ATC 2000
Smaller and less expensive than the Evo 40
Not designed for higher elevations like the Evo 40
Compact enough to fit under the passenger seat, which is a common installation location
Chinese Diesel Heaters
Much cheaper than name-brand heaters
Is less reliable and more prone to failure
Often require a separate fuel tank, which adds complexity and takes up interior space
Mr. Buddy Propane Heater
Portable propane heater commonly used for temporary heating
Presents potential fire and carbon monoxide risks if not used carefully inside a van
Requires propane storage inside the van
-
Without this heater, colder climates would be miserable and my plumbing pipes would likely freeze. In my experience, Webasto heaters are among the best options on the market for reliability and performance.
Heated Floors
-
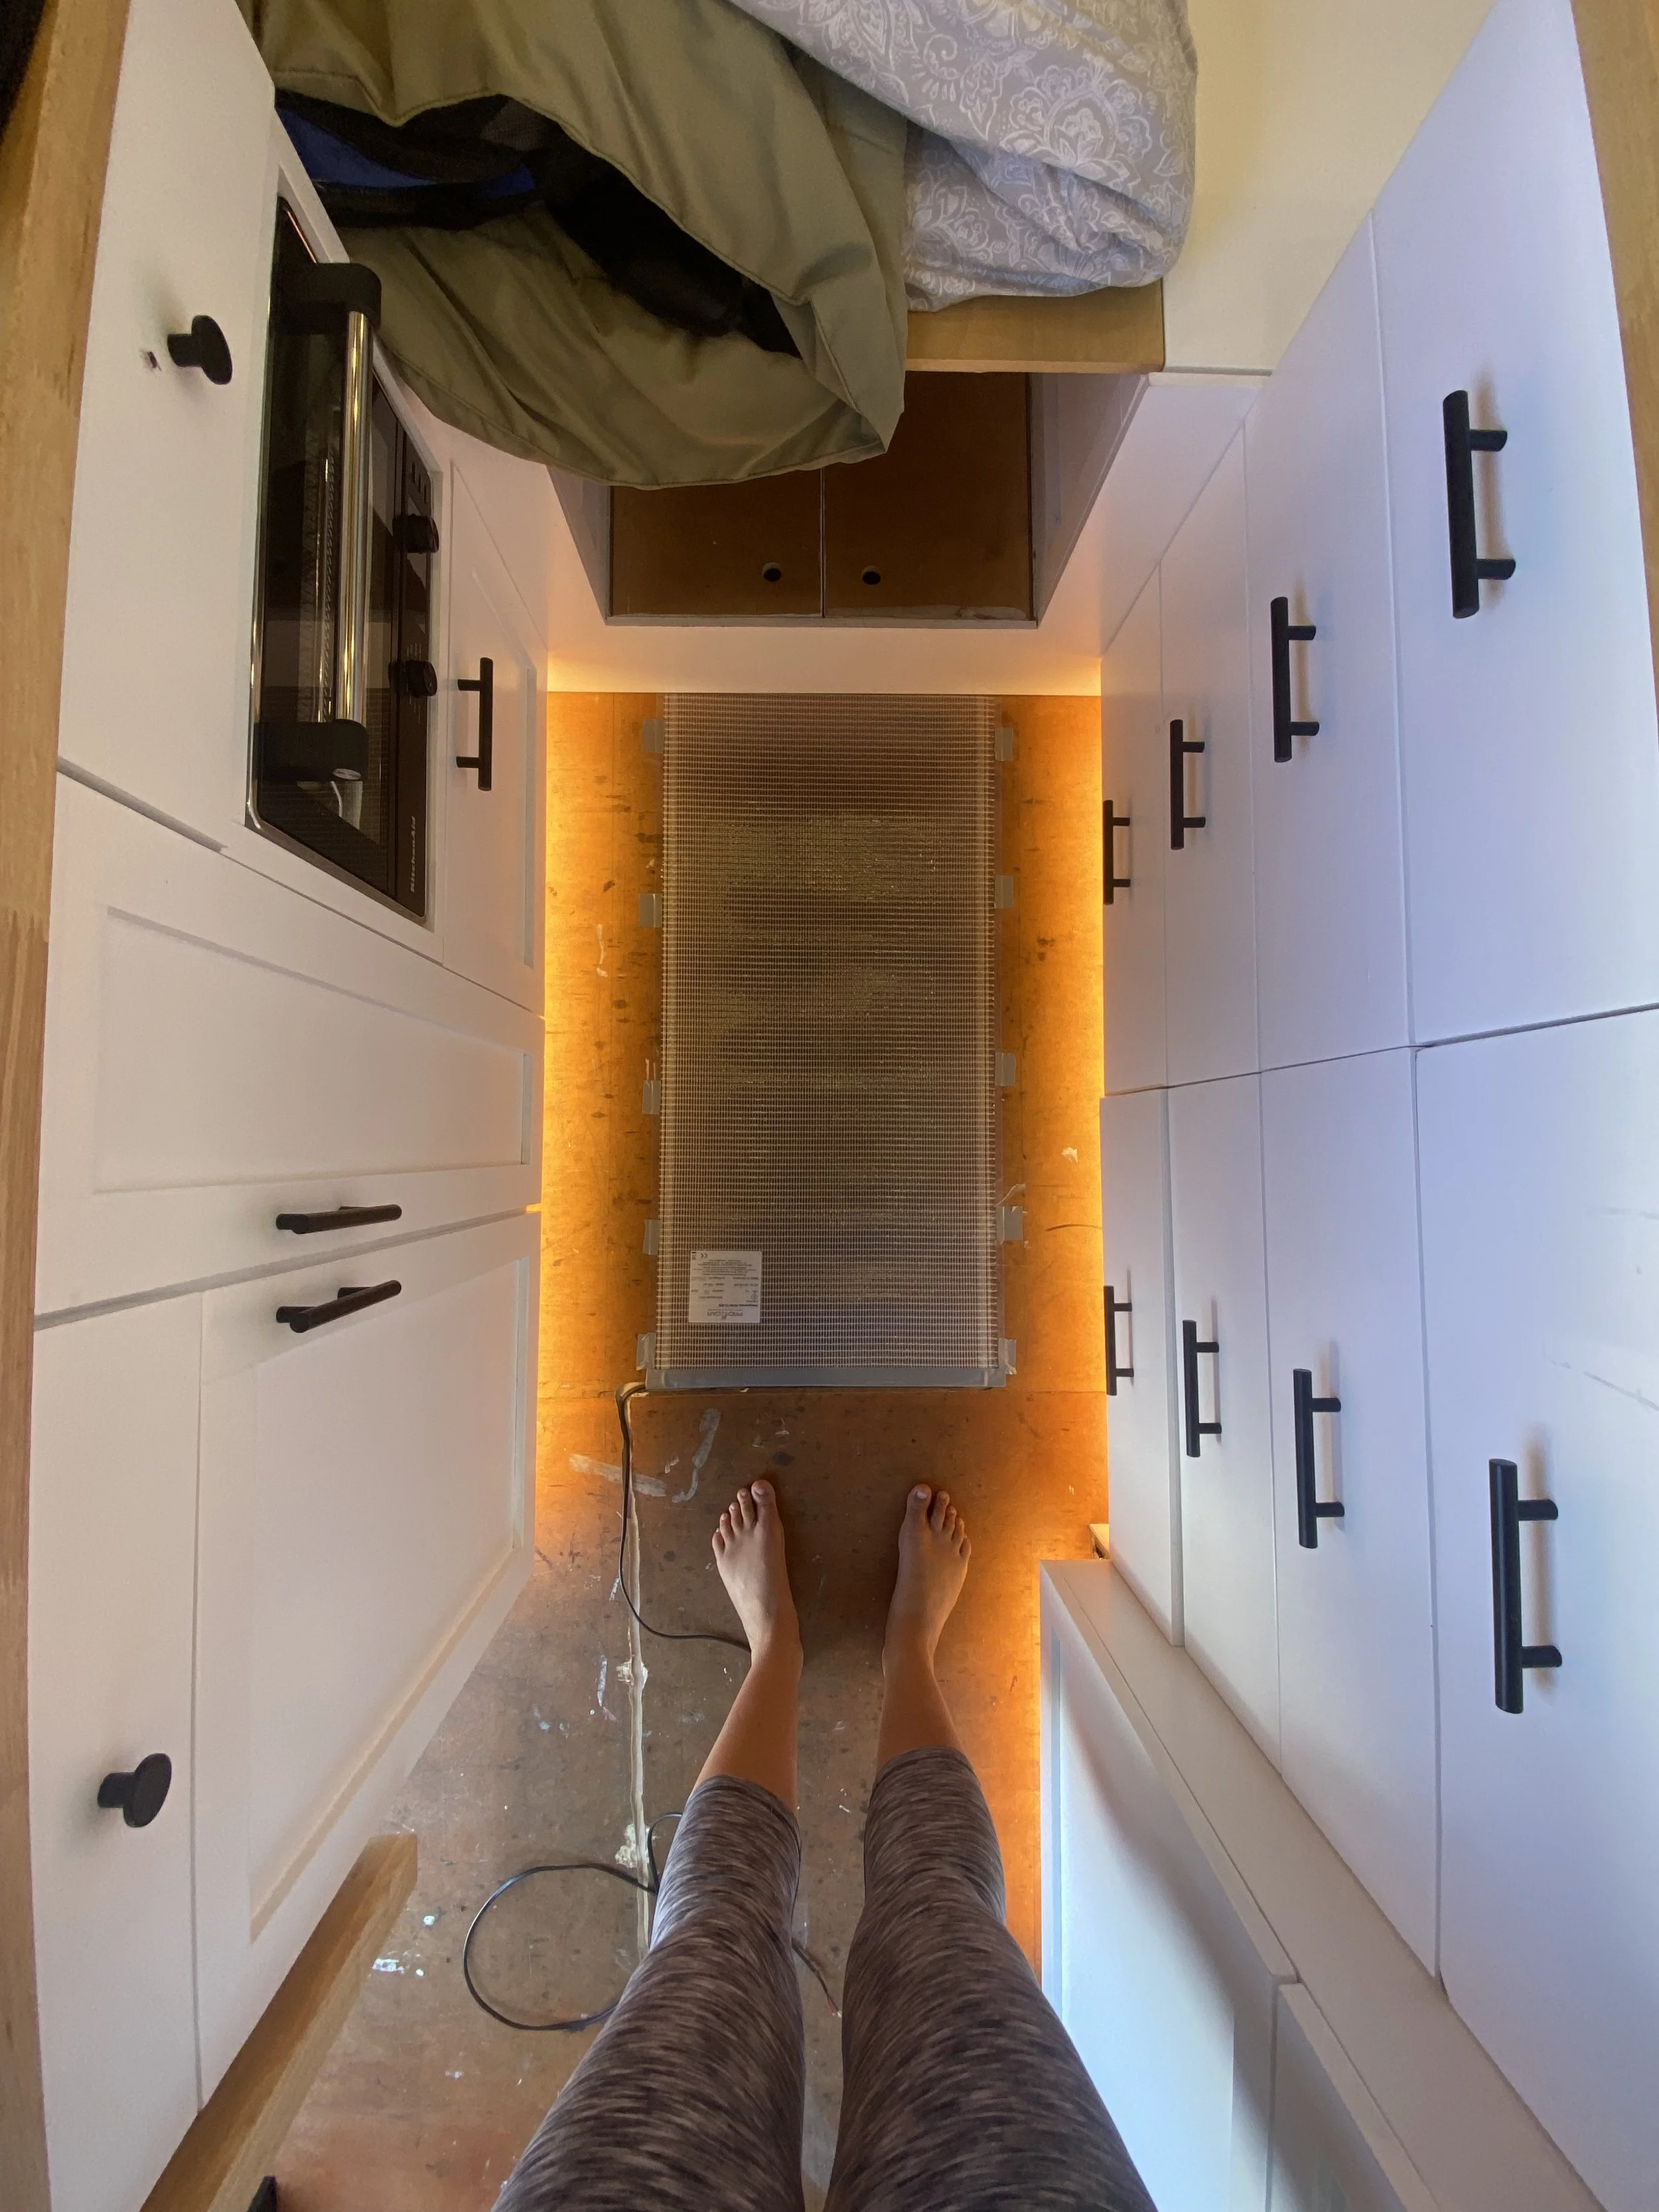
12 volt heating pad from Expedition Upfitter
Installed on top of the subfloor and beneath the finished flooring
Paper-thin profile with virtually no added floor height
-
Help keep the floor warm while traveling in colder climates
-
A 12 volt heating pad is more efficient when paired with a 12 volt battery bank because no power conversion is required
These specific mats should not be daisy chained
The mats can be cut to length, but not to width
Router a small channel in the subfloor for the wiring to sit flush beneath the flooring
I made the electrical connection above the floor in the step-up area so it can be accessed later if needed
-
This heating pad does more to keep the floor warm than insulating the subfloor alone
Make sure the materials above and below the heating pad are safe to have a heat source in direct contact
Plan the mat placement in high-traffic areas where you will actually feel the warmth
I installed mine between the kitchen and dresser where I stand most often, rather than near the sliding door entrance
Wire the heating pad with an on/off switch. I installed mine in the frame of my driver-side bunk window near the bed so it’s easy to turn on before getting out of bed on cold mornings
-
Radiant Heated Floors
Uses hot water circulating through tubing installed in the subfloor
Provides consistent radiant heat across the floor but requires a more complex plumbing and heating system
Simple Solutions
Add a rug or wear socks or slippers to keep your feet warm
-
Although I don’t use it often, I love having it when I do. It uses little power and keeps the floor toasty. Unlike insulation, which only helps keep cold air out, this actually warms the floor.
Roof Fans
-
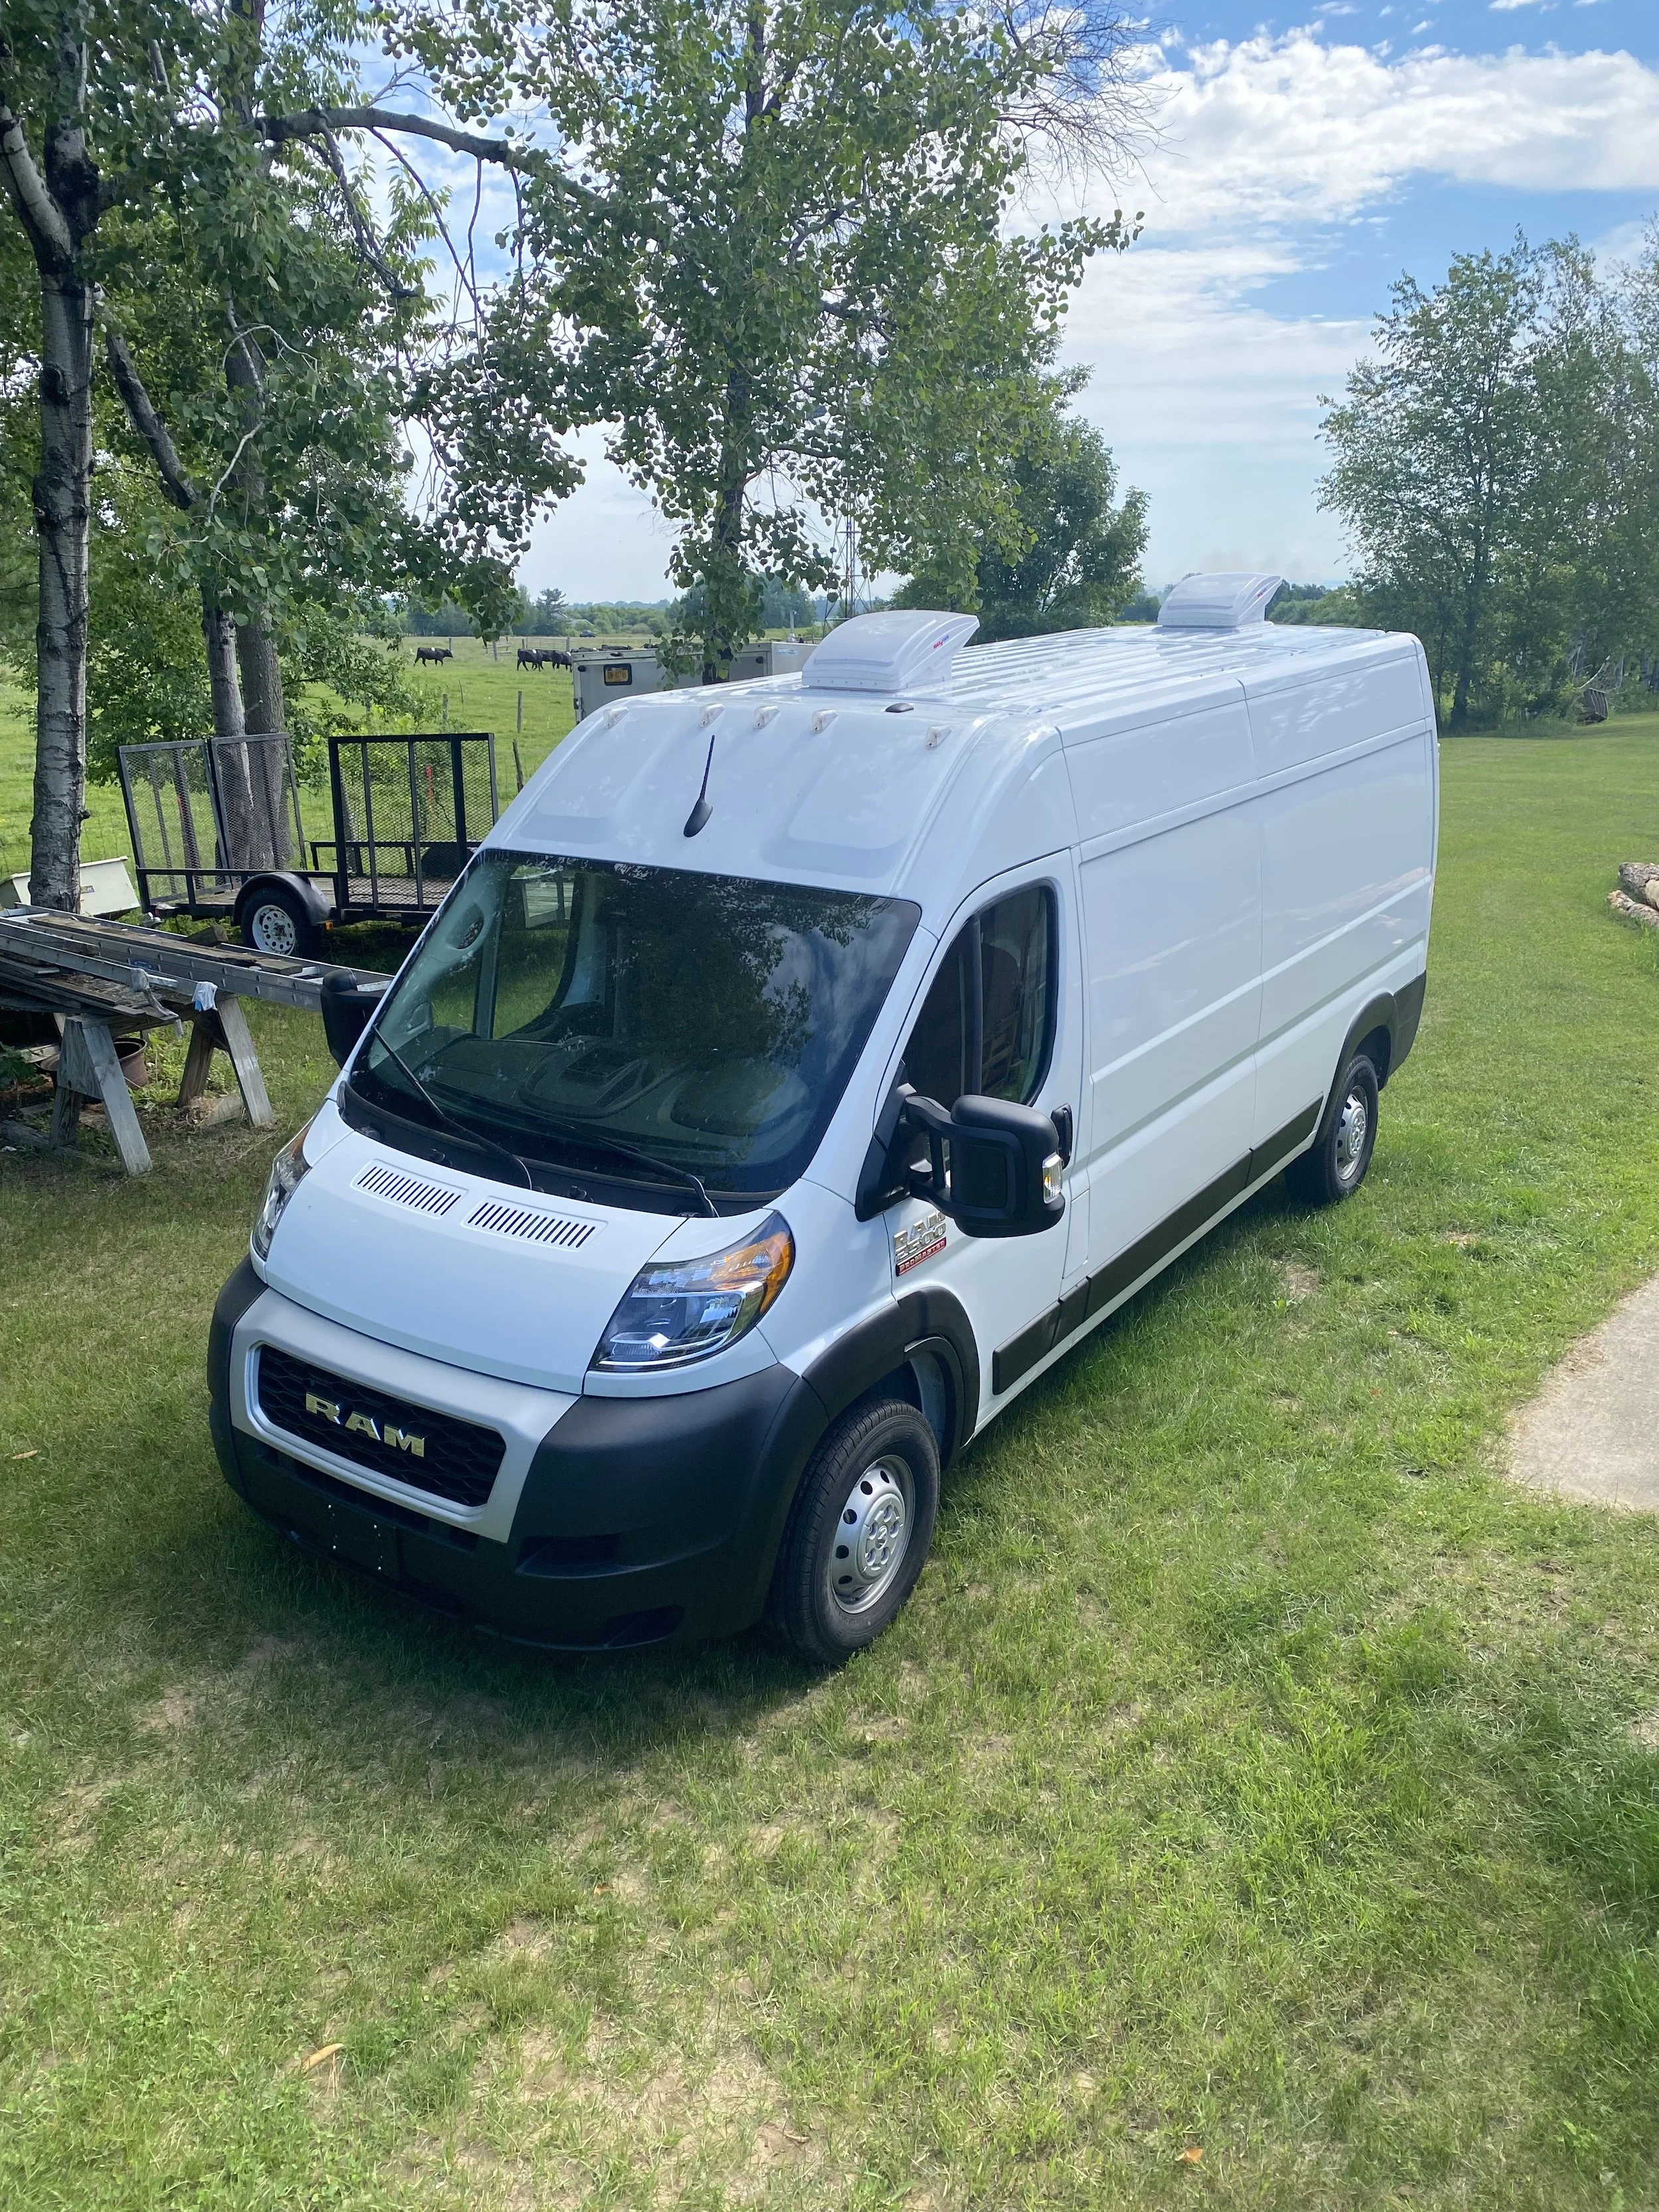
Two 12 volt MaxxAir Fan Deluxe 5100 roof fans
Built-in rain guard
Intake & exhaust modes
10 speed
White finish to blend with the van roof
One installed in the front near the kitchen and one in the back over the bed
-
Pull fresh air into the van
Remove odors and moisture
Create airflow throughout the van
Help regulate interior temperature
Reduce condensation buildup
-
Plan placement around other roof components and interior layout
Measure twice, cut once
Cutout size: 14” x 14”
Apply painter’s tape to the van roof and the base of the jigsaw to prevent scratches and create a visual cutting guide
Thoroughly clean all metal shavings inside the van and on the roof after cutting to prevent rust
Paint the newly exposed metal with a rust preventative
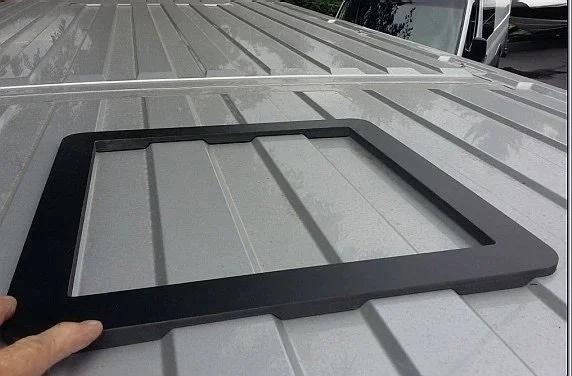
Use a fan adapter with 3M window-weld when installing on ribbed roof sections
The fan consists of three main pieces: the fan unit, the roof flange that secures the fan to the van, and the interior trim ring that finishes the opening after the ceiling is installed
Use butyl tape under the flange and self-leveling lap sealant on top to create a watertight seal and prevent leaks
-
A roof fan circulates air but does not create cold air like an air conditioner
Available with or without a remote control
Available in black or white
Install at least one fan, and up to two for improved airflow
Use fan covers to block out light and help retain heat in colder weather
A 12 volt roof fan is more efficient if you have a 12 volt battery bank, since no power conversion is required
Cutting a hole in the roof reduces its structural strength, so be mindful when moving around on the roof to avoid damage
After the sealant has cured for 24 hours, spray the area with water to test for leaks
Install roof fans early in the build so metal shavings are easier to clean and the ceiling can be built around the fan
-
Since I don’t use the fans often, I’d prefer having colder air when traveling in warmer climates. For my next build, I’d install one roof fan in the front near the kitchen and an air conditioner over the bed instead of two roof fans.
Venting Windows
-
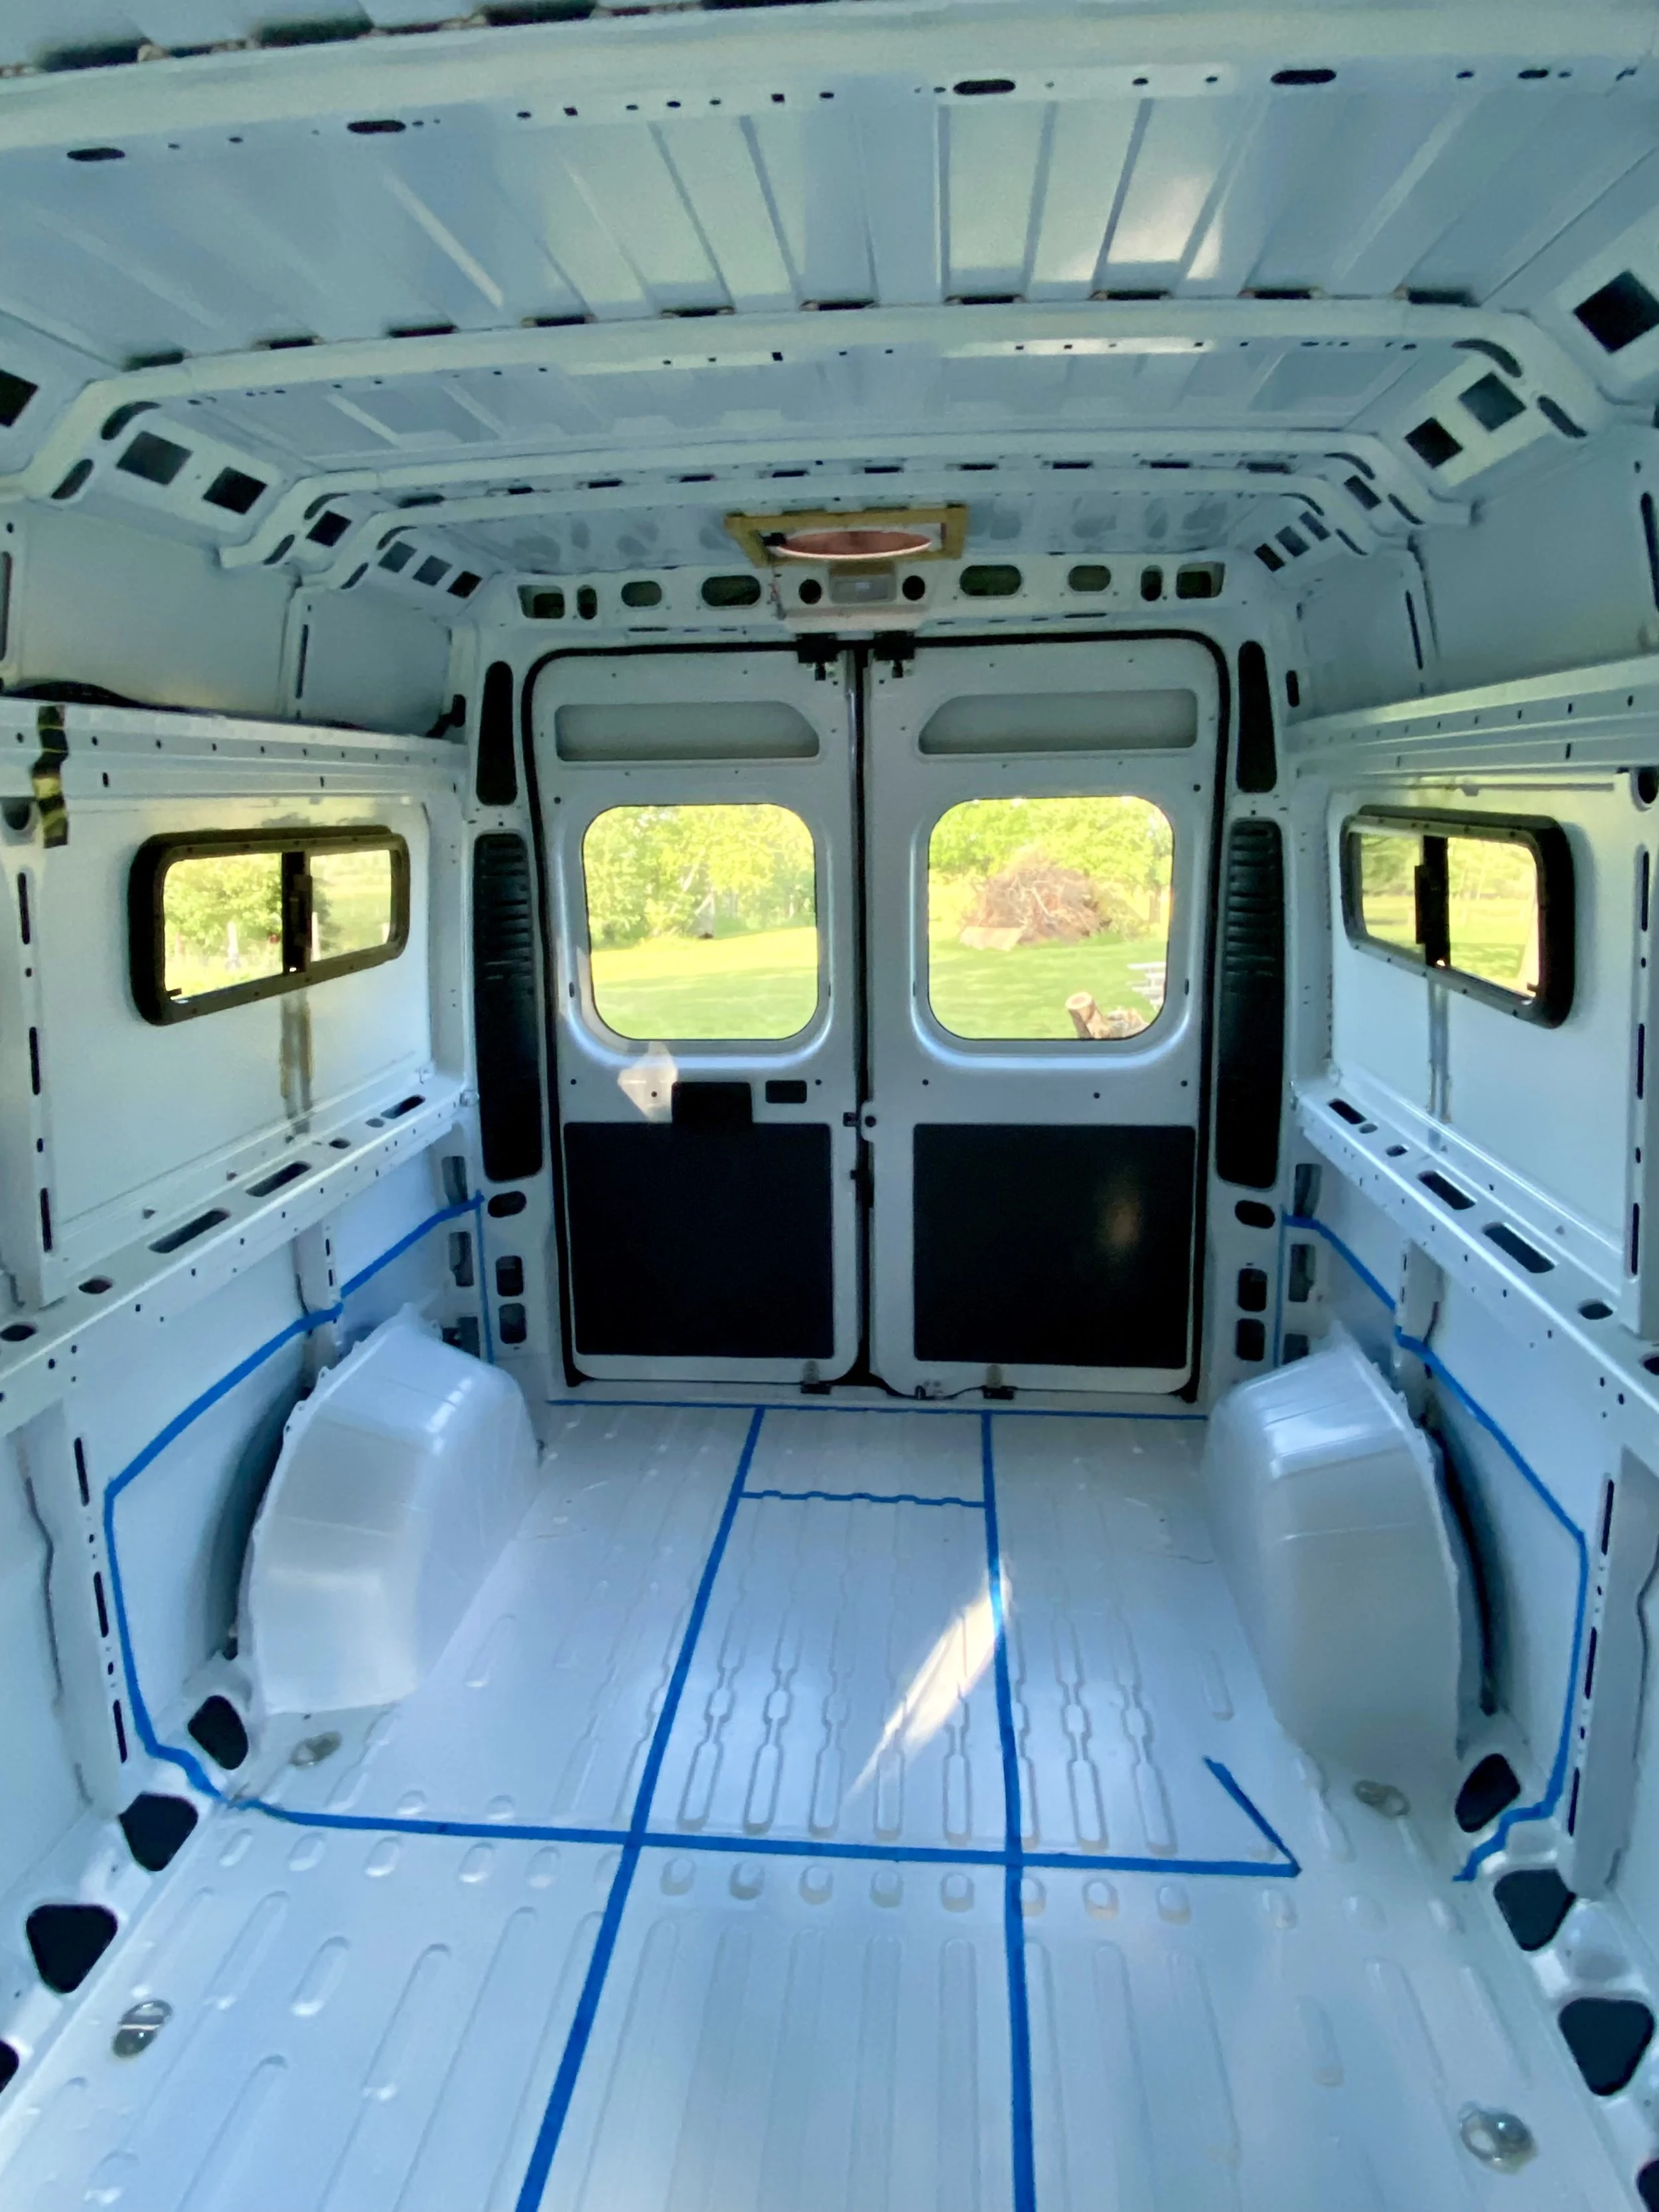
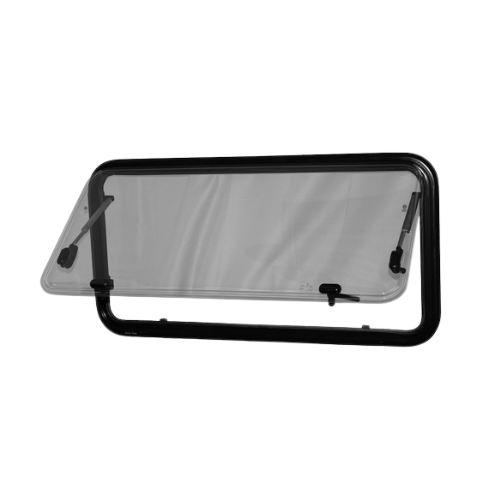
Two venting Motion Windows by Peninsula Glass
Installed across from each other in the rear of the van near the bed to create cross ventilation
-
Help circulate air throughout the van when used in combination with the roof fans
Provide airflow near the bed while sleeping
-
Plan window placement around van structures and your interior layout
Measure twice, cut once
Apply painter’s tape to the van around the cut line and on the base of the jigsaw to protect the van from scratches and to create a visual guide when cutting
Thoroughly clean all metal shavings inside the van after cutting to prevent rust
Paint the newly exposed metal with a rust preventative
Two people needed to install bunk windows — one person outside holding the window in place while the other secures the flange from inside the van
-
Trade-Offs
The more holes cut into the van body, the less insulated the interior becomes
Reduced privacy inside the van
Solutions
Tinted windows
Note
The venting bunk windows cannot be left open during rain
-
Window Styles
Push-out window – Hinged at the top and opens outward, allowing ventilation even during light rain
T-style vent window –Lower hinged sections that open outward for ventilation even during light rain
Sliding vent window – One glass panel slides horizontally to allow airflow
Furthermore
Different window brands may have slightly different glass tint or color variations
Install windows early in the build so metal shavings are easier to clean and the layout can be designed around them
Spray the window area with water to test for leaks once it has time to dry
-
Arctic Tern Windows
Custom-sized windows available
Built-in shade and insect screen
Push-out design allows the window to remain open in rain
Better insulated than many standard van windows
-
I’m happy with my windows and their placement, but for a future build I would strongly consider Arctic Tern windows. I wasn’t aware of these windows when I built my van, but after seeing and using them in person, I’ve been very impressed.
They include built-in screens and shades, thicker acrylic for improved insulation, a nice tint, and a push-out design that can remain open during rain. Another advantage is that window sizes can be customized to fit your layout.
Related Resources
Watch the Tutorial


Shop Product Links


As an Amazon Associate, Lauren will receive a small commission from any qualifying purchases made through these links, at no additional cost to you.Thank you for your support!Ready to build with confidence?
Follow step-by-step installation guides that break down the most complex parts of the build into clear, manageable steps.
Need help planning your build?
Book a 1:1 Consultation