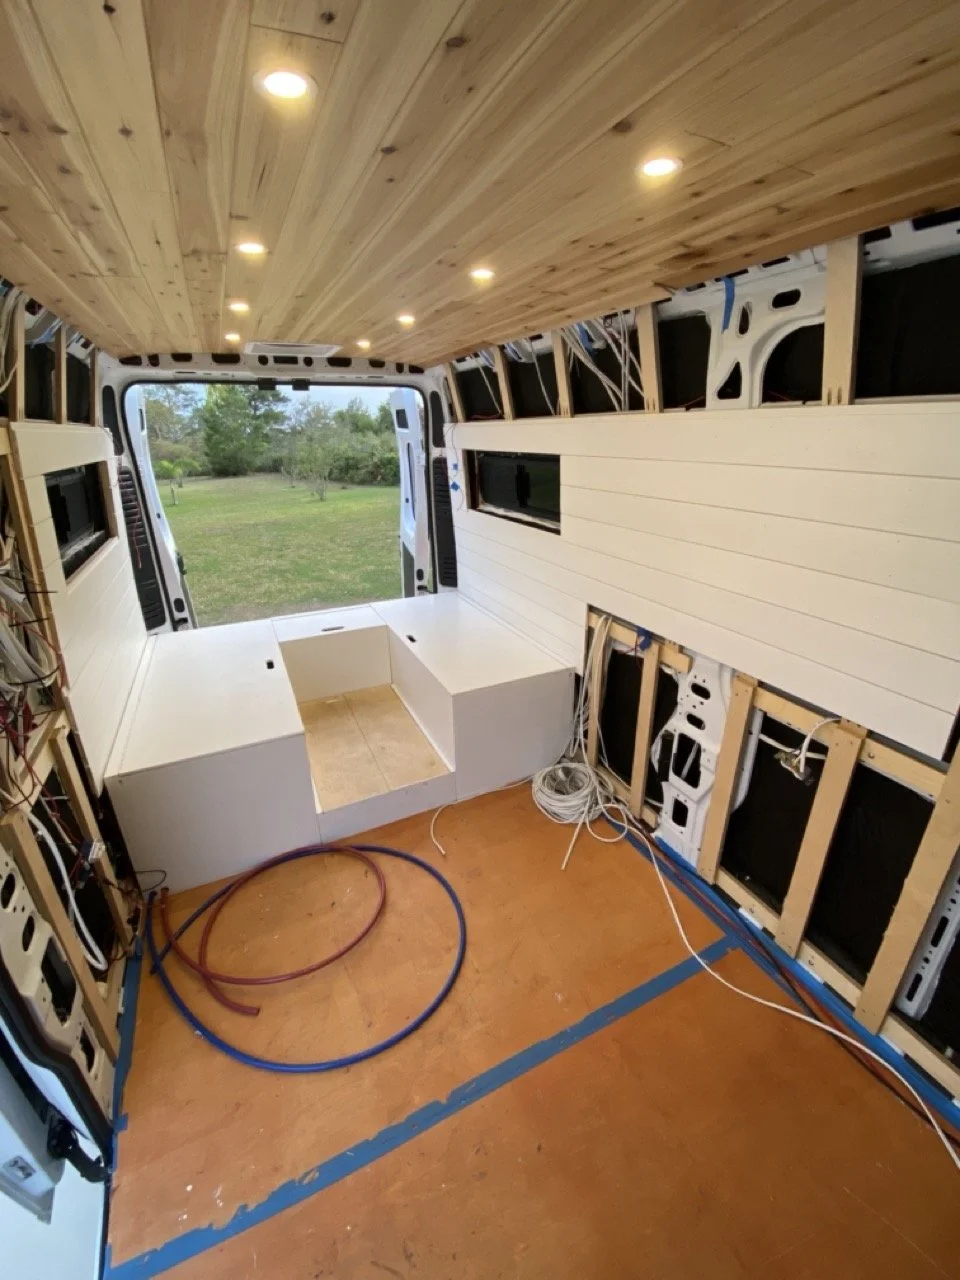
Shiplap Walls
-
5.25" primed pine shiplap boards
Valspar Signature Interior paint – Ultra White, satin finish
Installed with 18-gauge brad nails and finished with Minwax wood filler
-
Creates the illusion of a longer space with the horizontal grooves
Makes the van feel more like a home
Quick and easy to install
-
Start at the bottom and make sure the first board is perfectly level — every board above it will follow that line
Use full-length boards and avoid joining two board ends together — the seam won’t look as clean
Brad nail the shiplap directly into the furring strips for a secure attachment
Use satin paint so the walls aren’t too shiny or glossy
Add a corner guard trim where the shiplap ends in an exposed area — I installed one by the rear doors but the opposite side terminates behind cabinetry so trim wasn’t needed there
-
Only install the wall where it will be visible — not behind cabinetry
Saves weight, time, money, and usable space
Leave enough clearance around windows to install a trim frame
Run any additional wiring before covering the wall
-
Full sheets of plywood — thinner and lighter, but seams will eventually show where panels meet
-
I really like the shiplap and would install it again. It makes the van feel more like a home with added character and dimension to the walls instead of a flat surface.
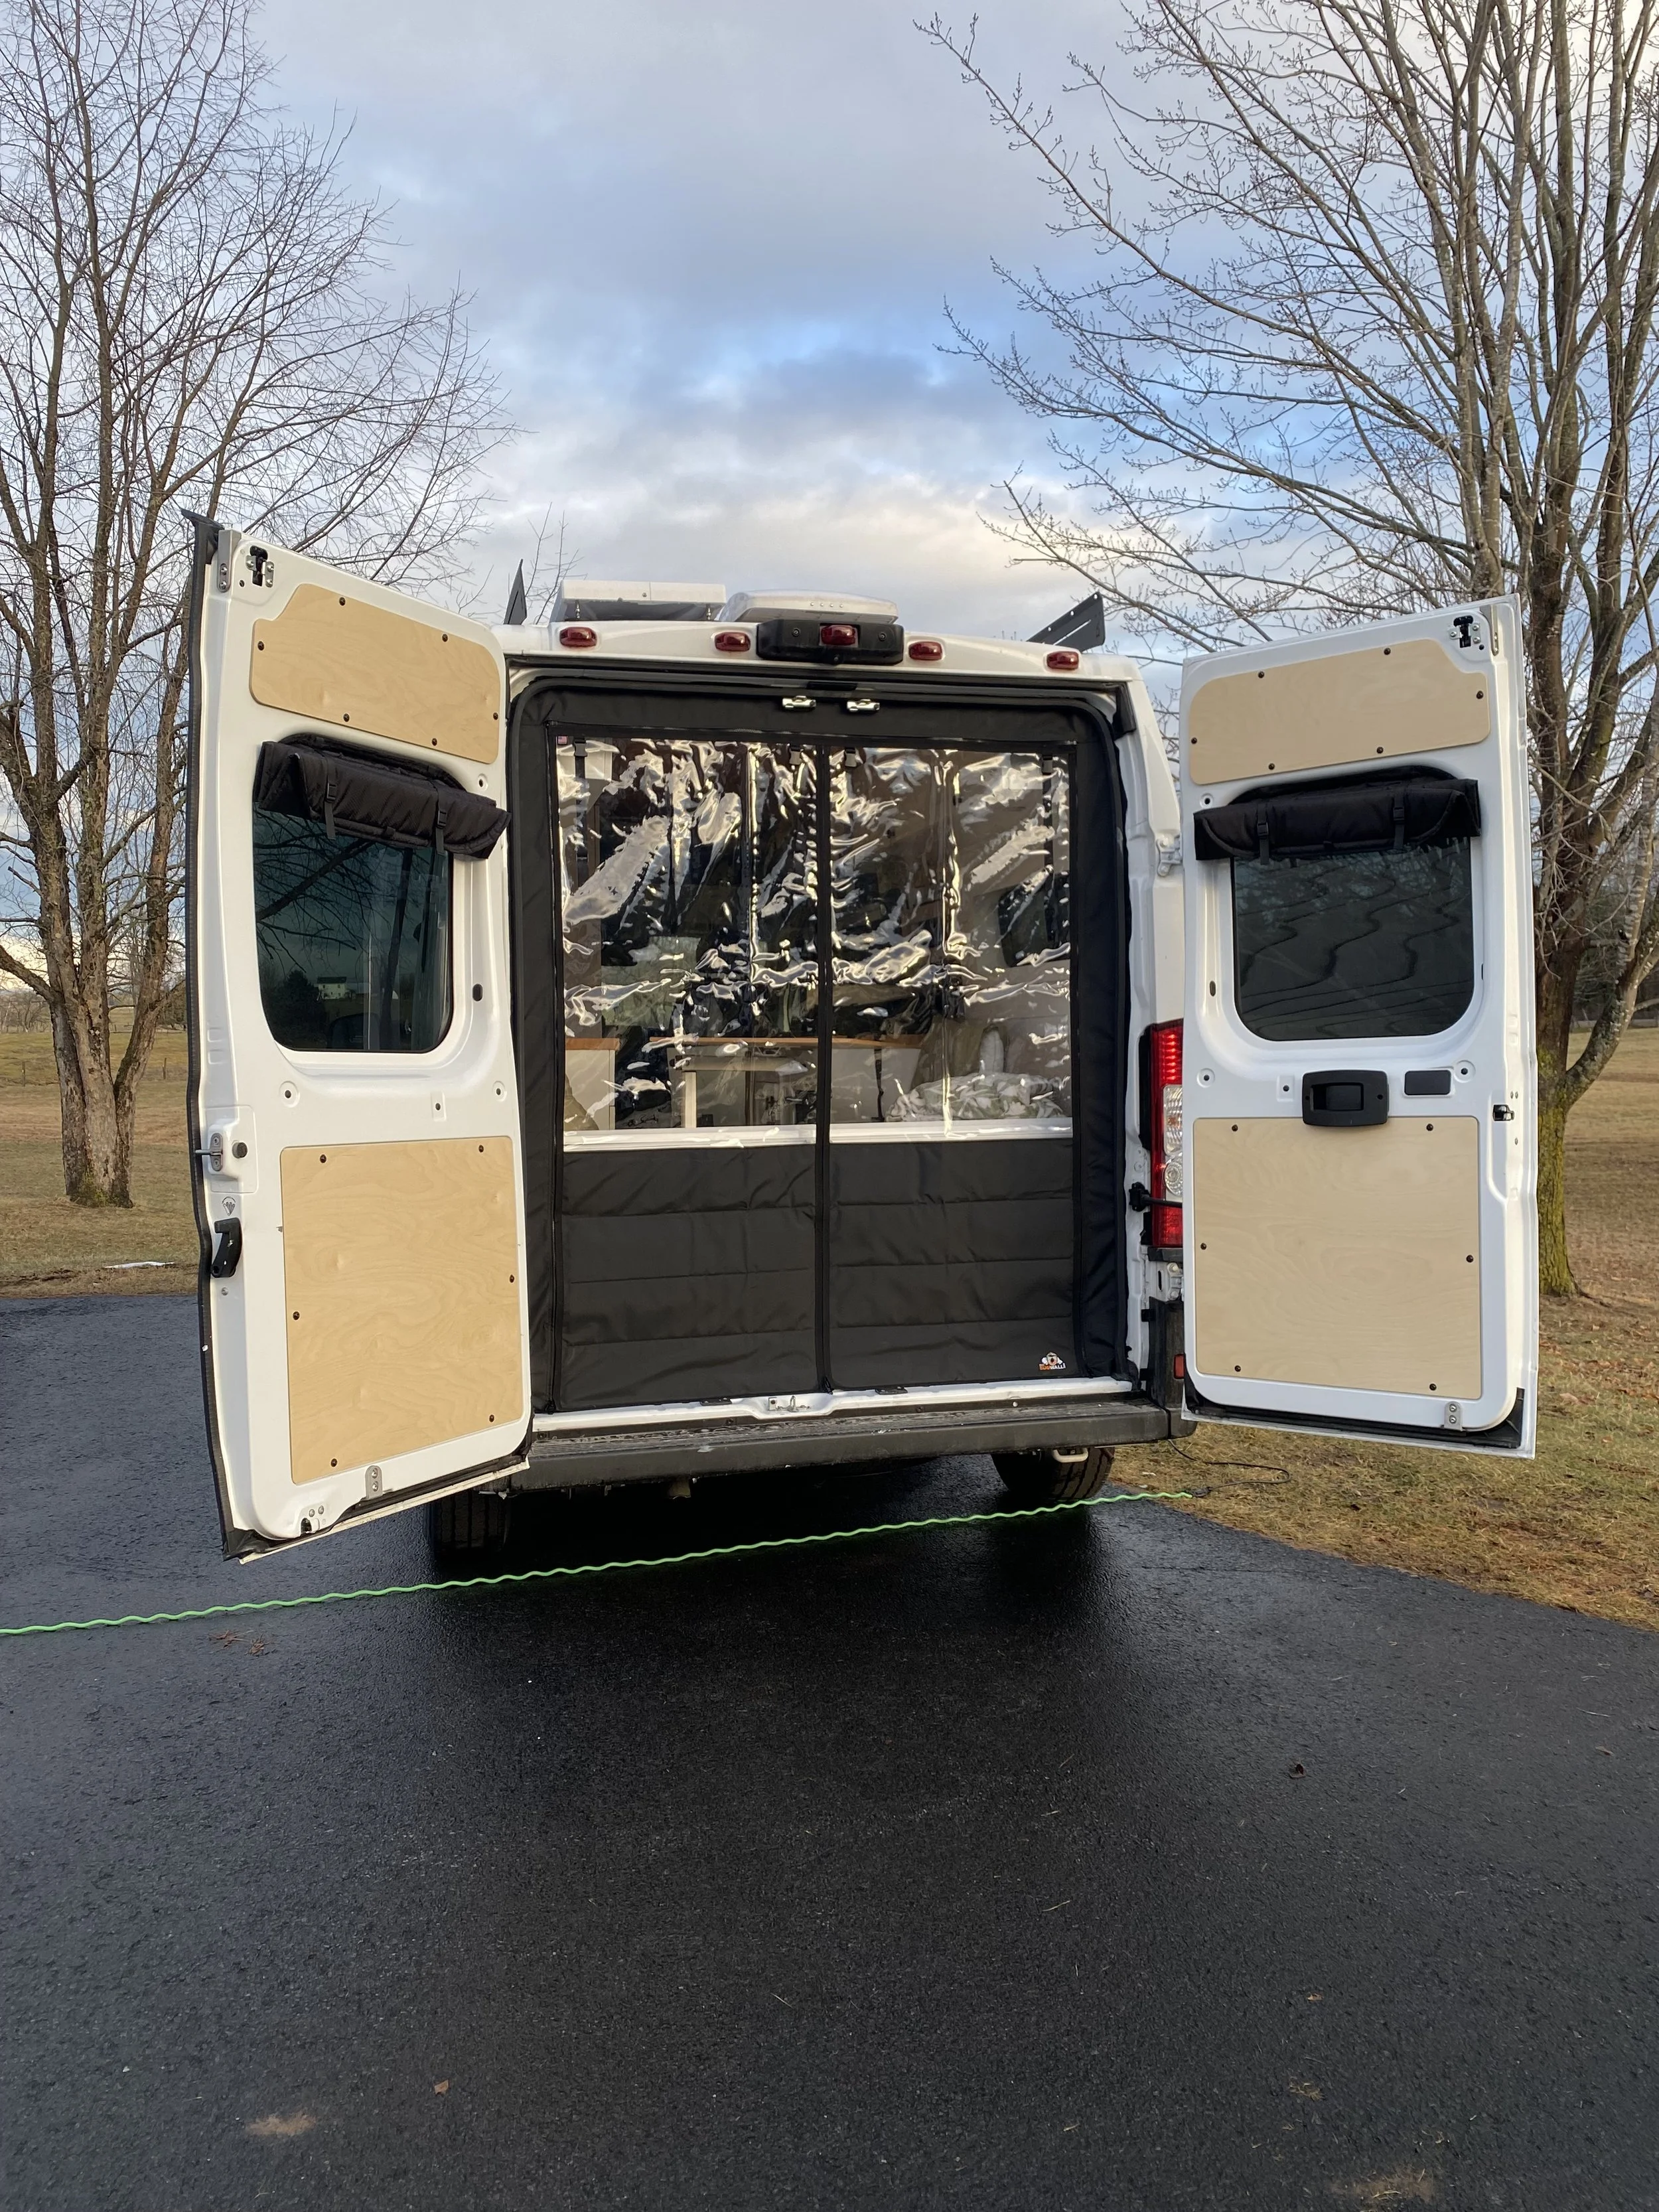
Door Panels
-
Out There Vans door panels for the rear doors, sliding door, and rear corner trim sections
Designed specifically for cargo vans
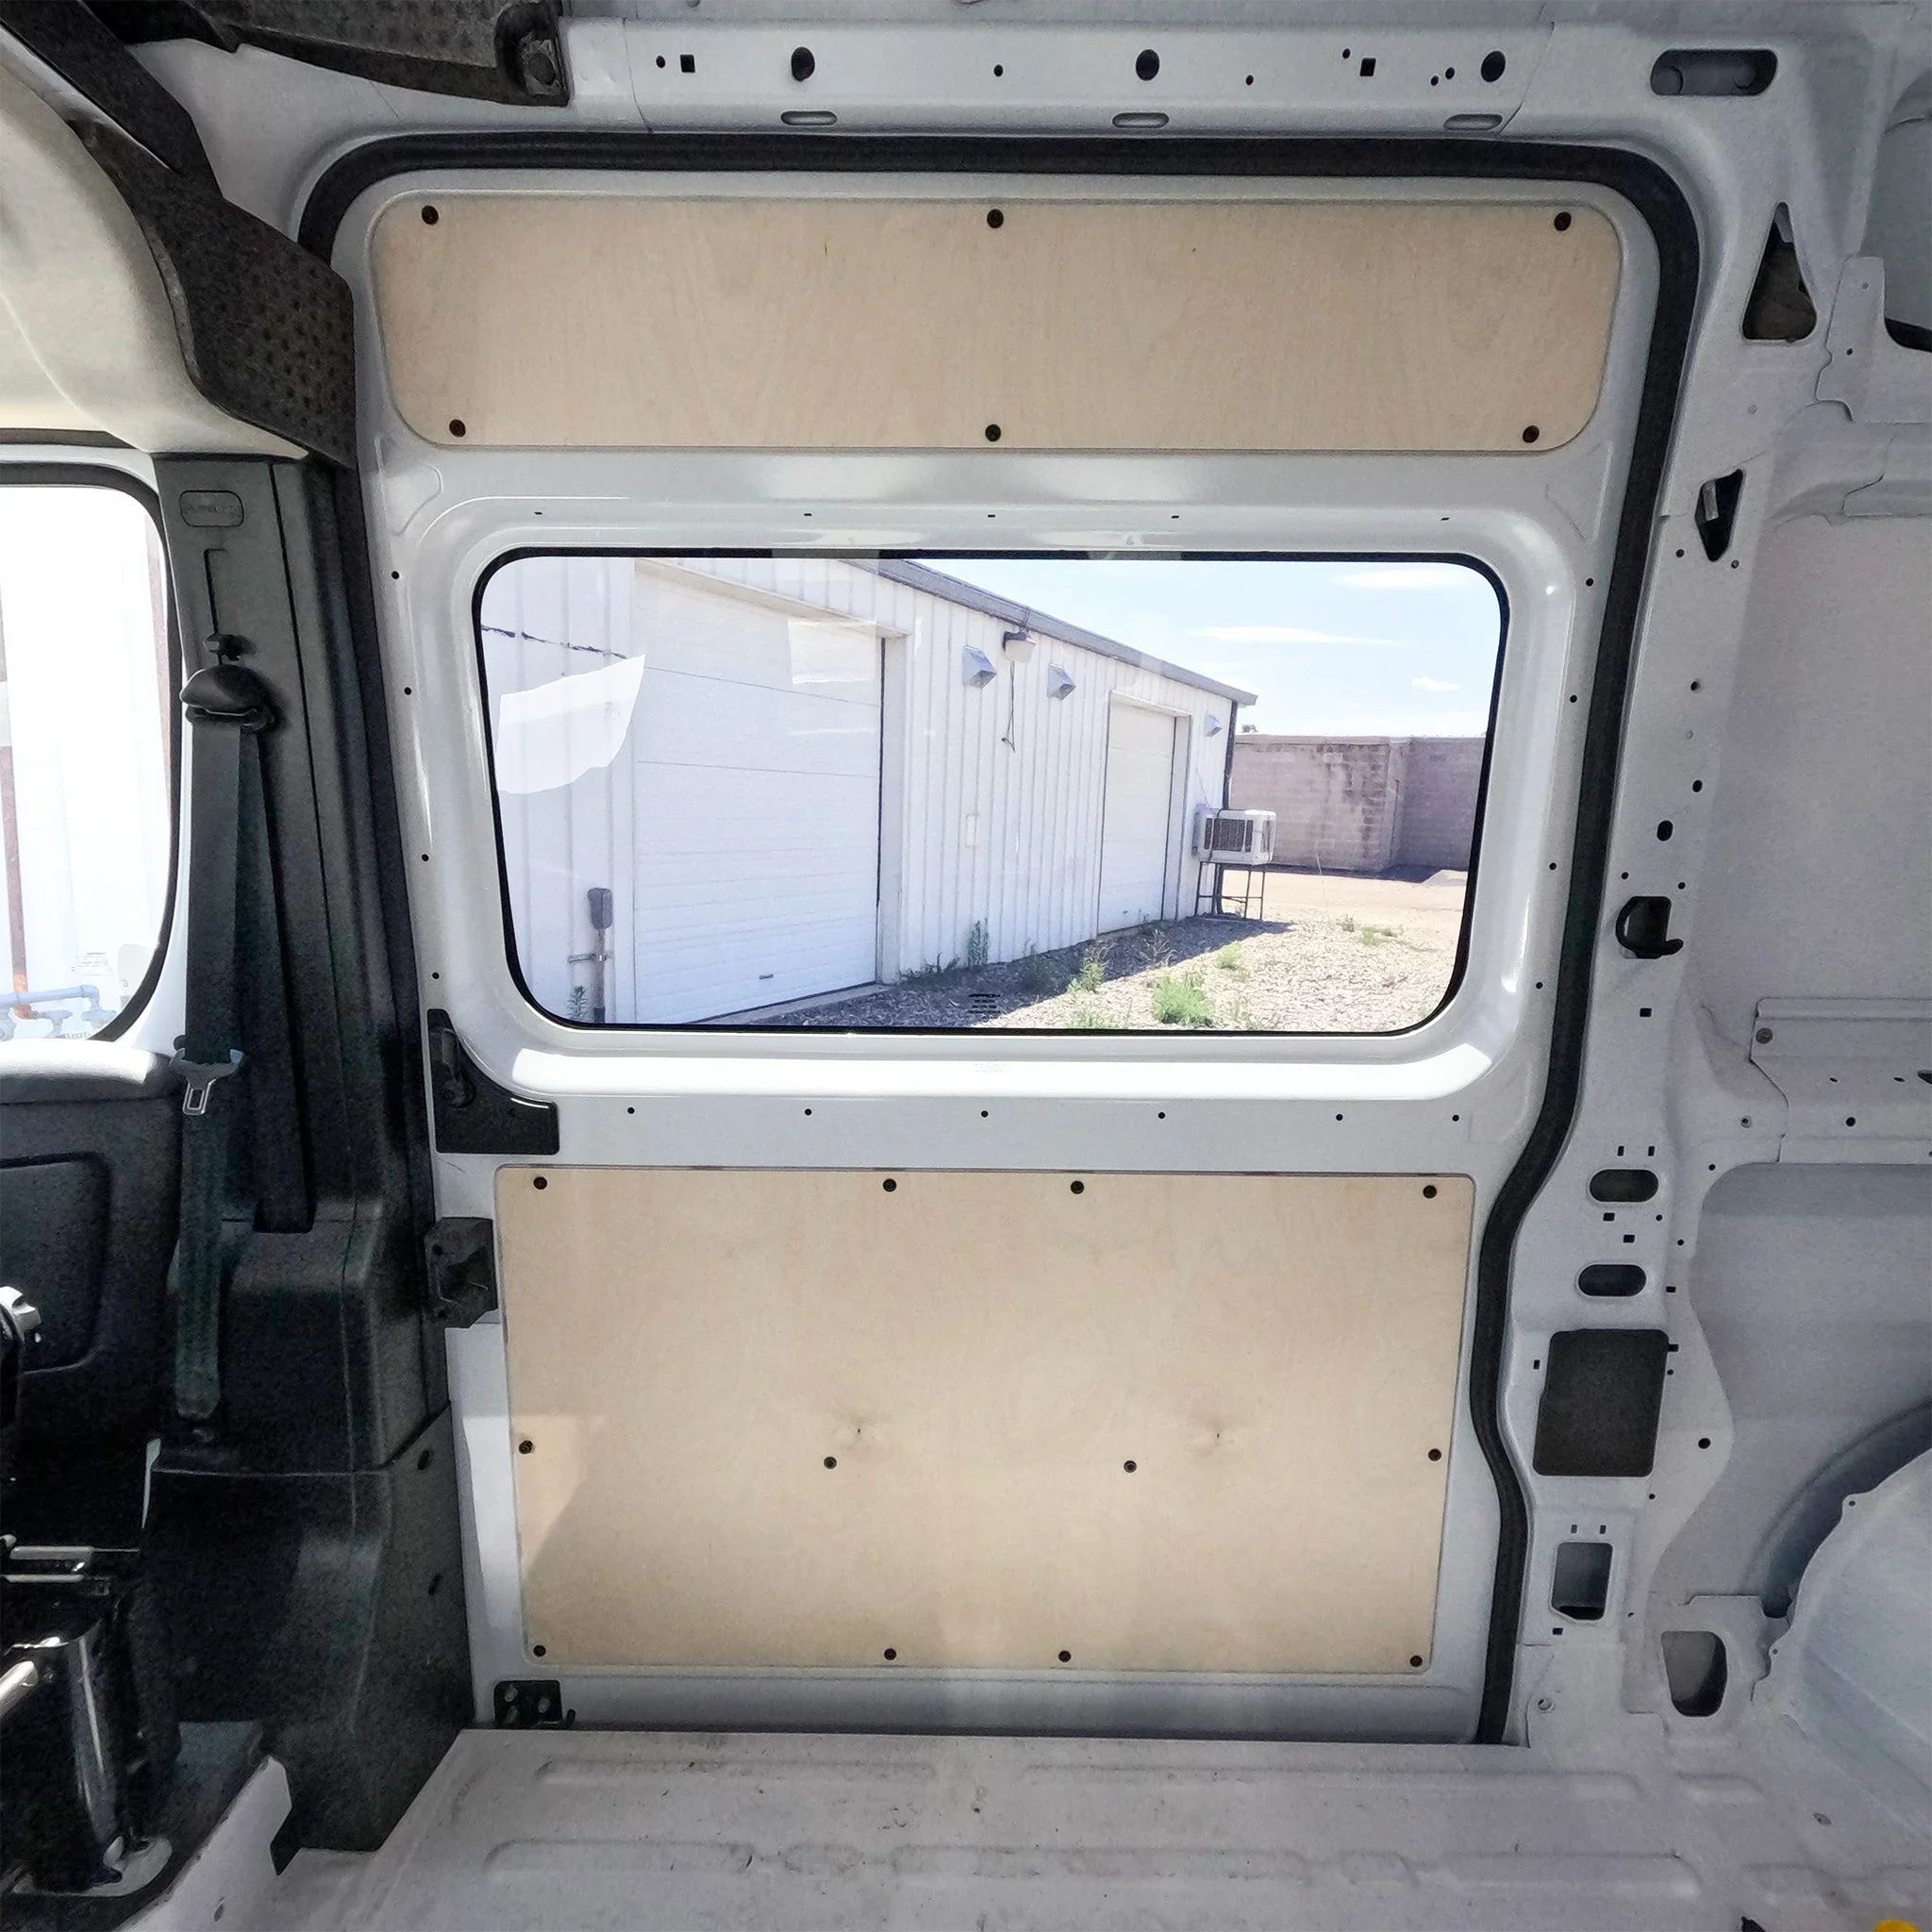
CNC-cut for a precise fit, matching the factory door shapes
Made from 1/4" Baltic birch plywood
Panels come unfinished, allowing you to paint, stain, or wrap them in fabric to match your van build
-
Replaces the thin black factory panels in the lower door sections
Covers the open metal cavities in the upper door areas for a cleaner interior finish
-
Panels mount using existing factory holes in the doors
Hardware included: rivnuts, machine screws, washers, and an Allen wrench
Holes need to be slightly expanded with a step drill bit to install the rivnuts
Clean up all metal shavings and apply a rust preventative to the newly exposed metal before proceeding
Install sound deadening and insulation in the door cavities before mounting the panels
-
1/4" Baltic birch plywood — lightweight but sturdy
Easy to remove if you ever need to access or repair a door mechanism
The plywood panels allow you to attach lightweight accessories or storage if desired
-
Make your own door panels - stencil work required to install flush to the inset space
Keep the factory panels
-
I’m really glad I chose these instead of making my own panels. They saved a lot of time and look great.
Related Resources
Shop Product Links

As an Amazon Associate, Lauren will receive a small commission from any qualifying purchases made through these links, at no additional cost to you.Thank you for your support!Ready to build with confidence?
Follow step-by-step installation guides that break down the most complex parts of the build into clear, manageable steps.
Need help planning your build?
Book a 1:1 Consultation