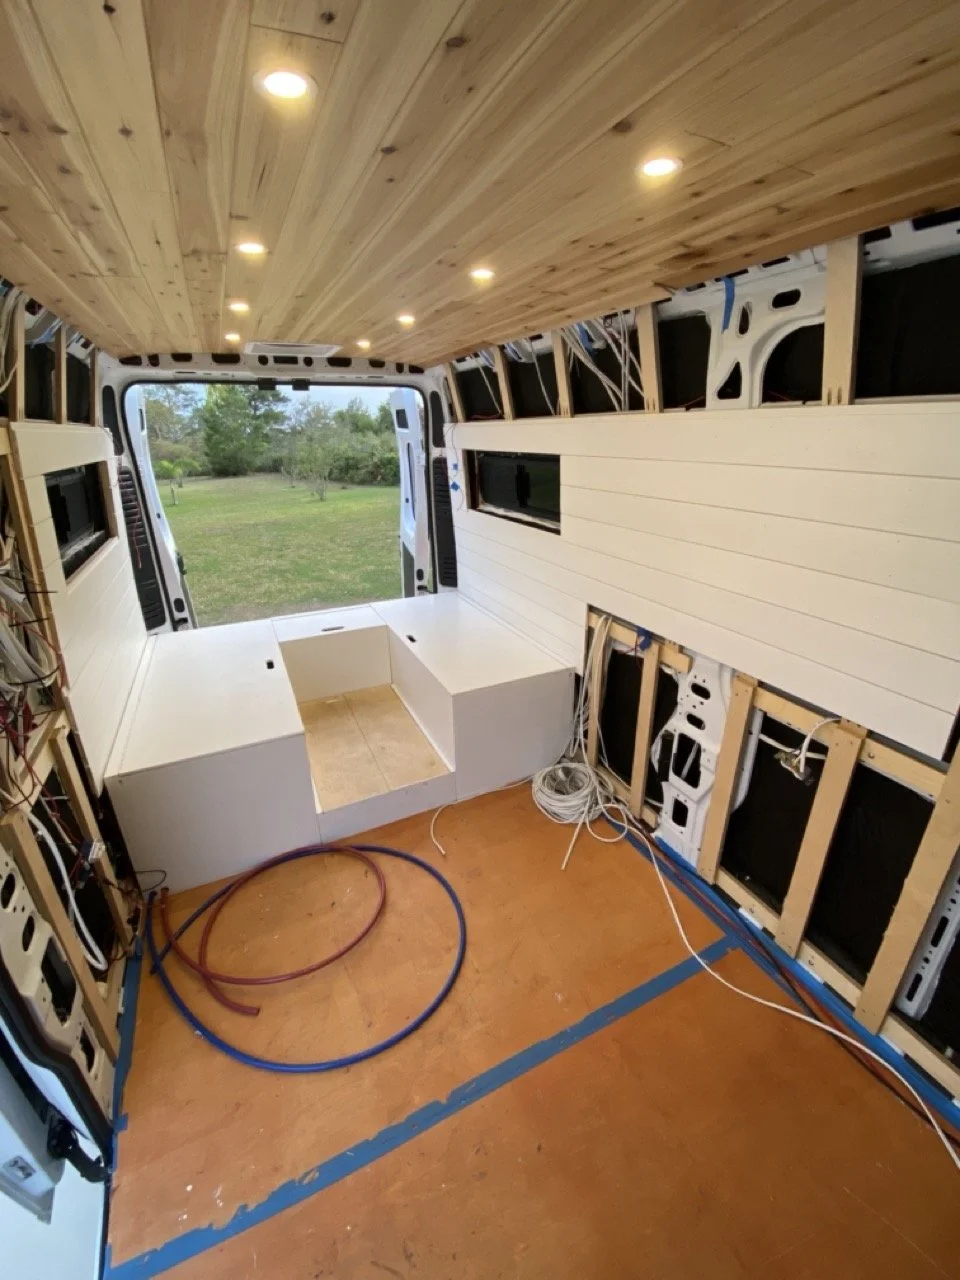
Walls & Door Panels
Shiplap Walls
-
5.25” wide Primed Pine Shiplap
Valspar Signature Interior Ultra White Satin Paint
18 Gauge Brad Nails & Minwax Wood Filler
-
Give the illusion the van is longer with the grooves
Make the van feel more like a home
-
Brad nail directly into the furring strips
Use full length boards & avoid joining two ends together - doesn’t look as clean
Start at the bottom & make sure the first board is level
Satin paint is best for the walls so it isn’t shinny or glossy
-
Only put the wall where it will be visible - not behind cabinets
Saves weight, time, money and usable space
-
Full sheet of plywood
I wanted to avoid any seams that will eventually appear
-
I’d do shiplap again. Makes the van feel more like a home. Was a quick and easy install.
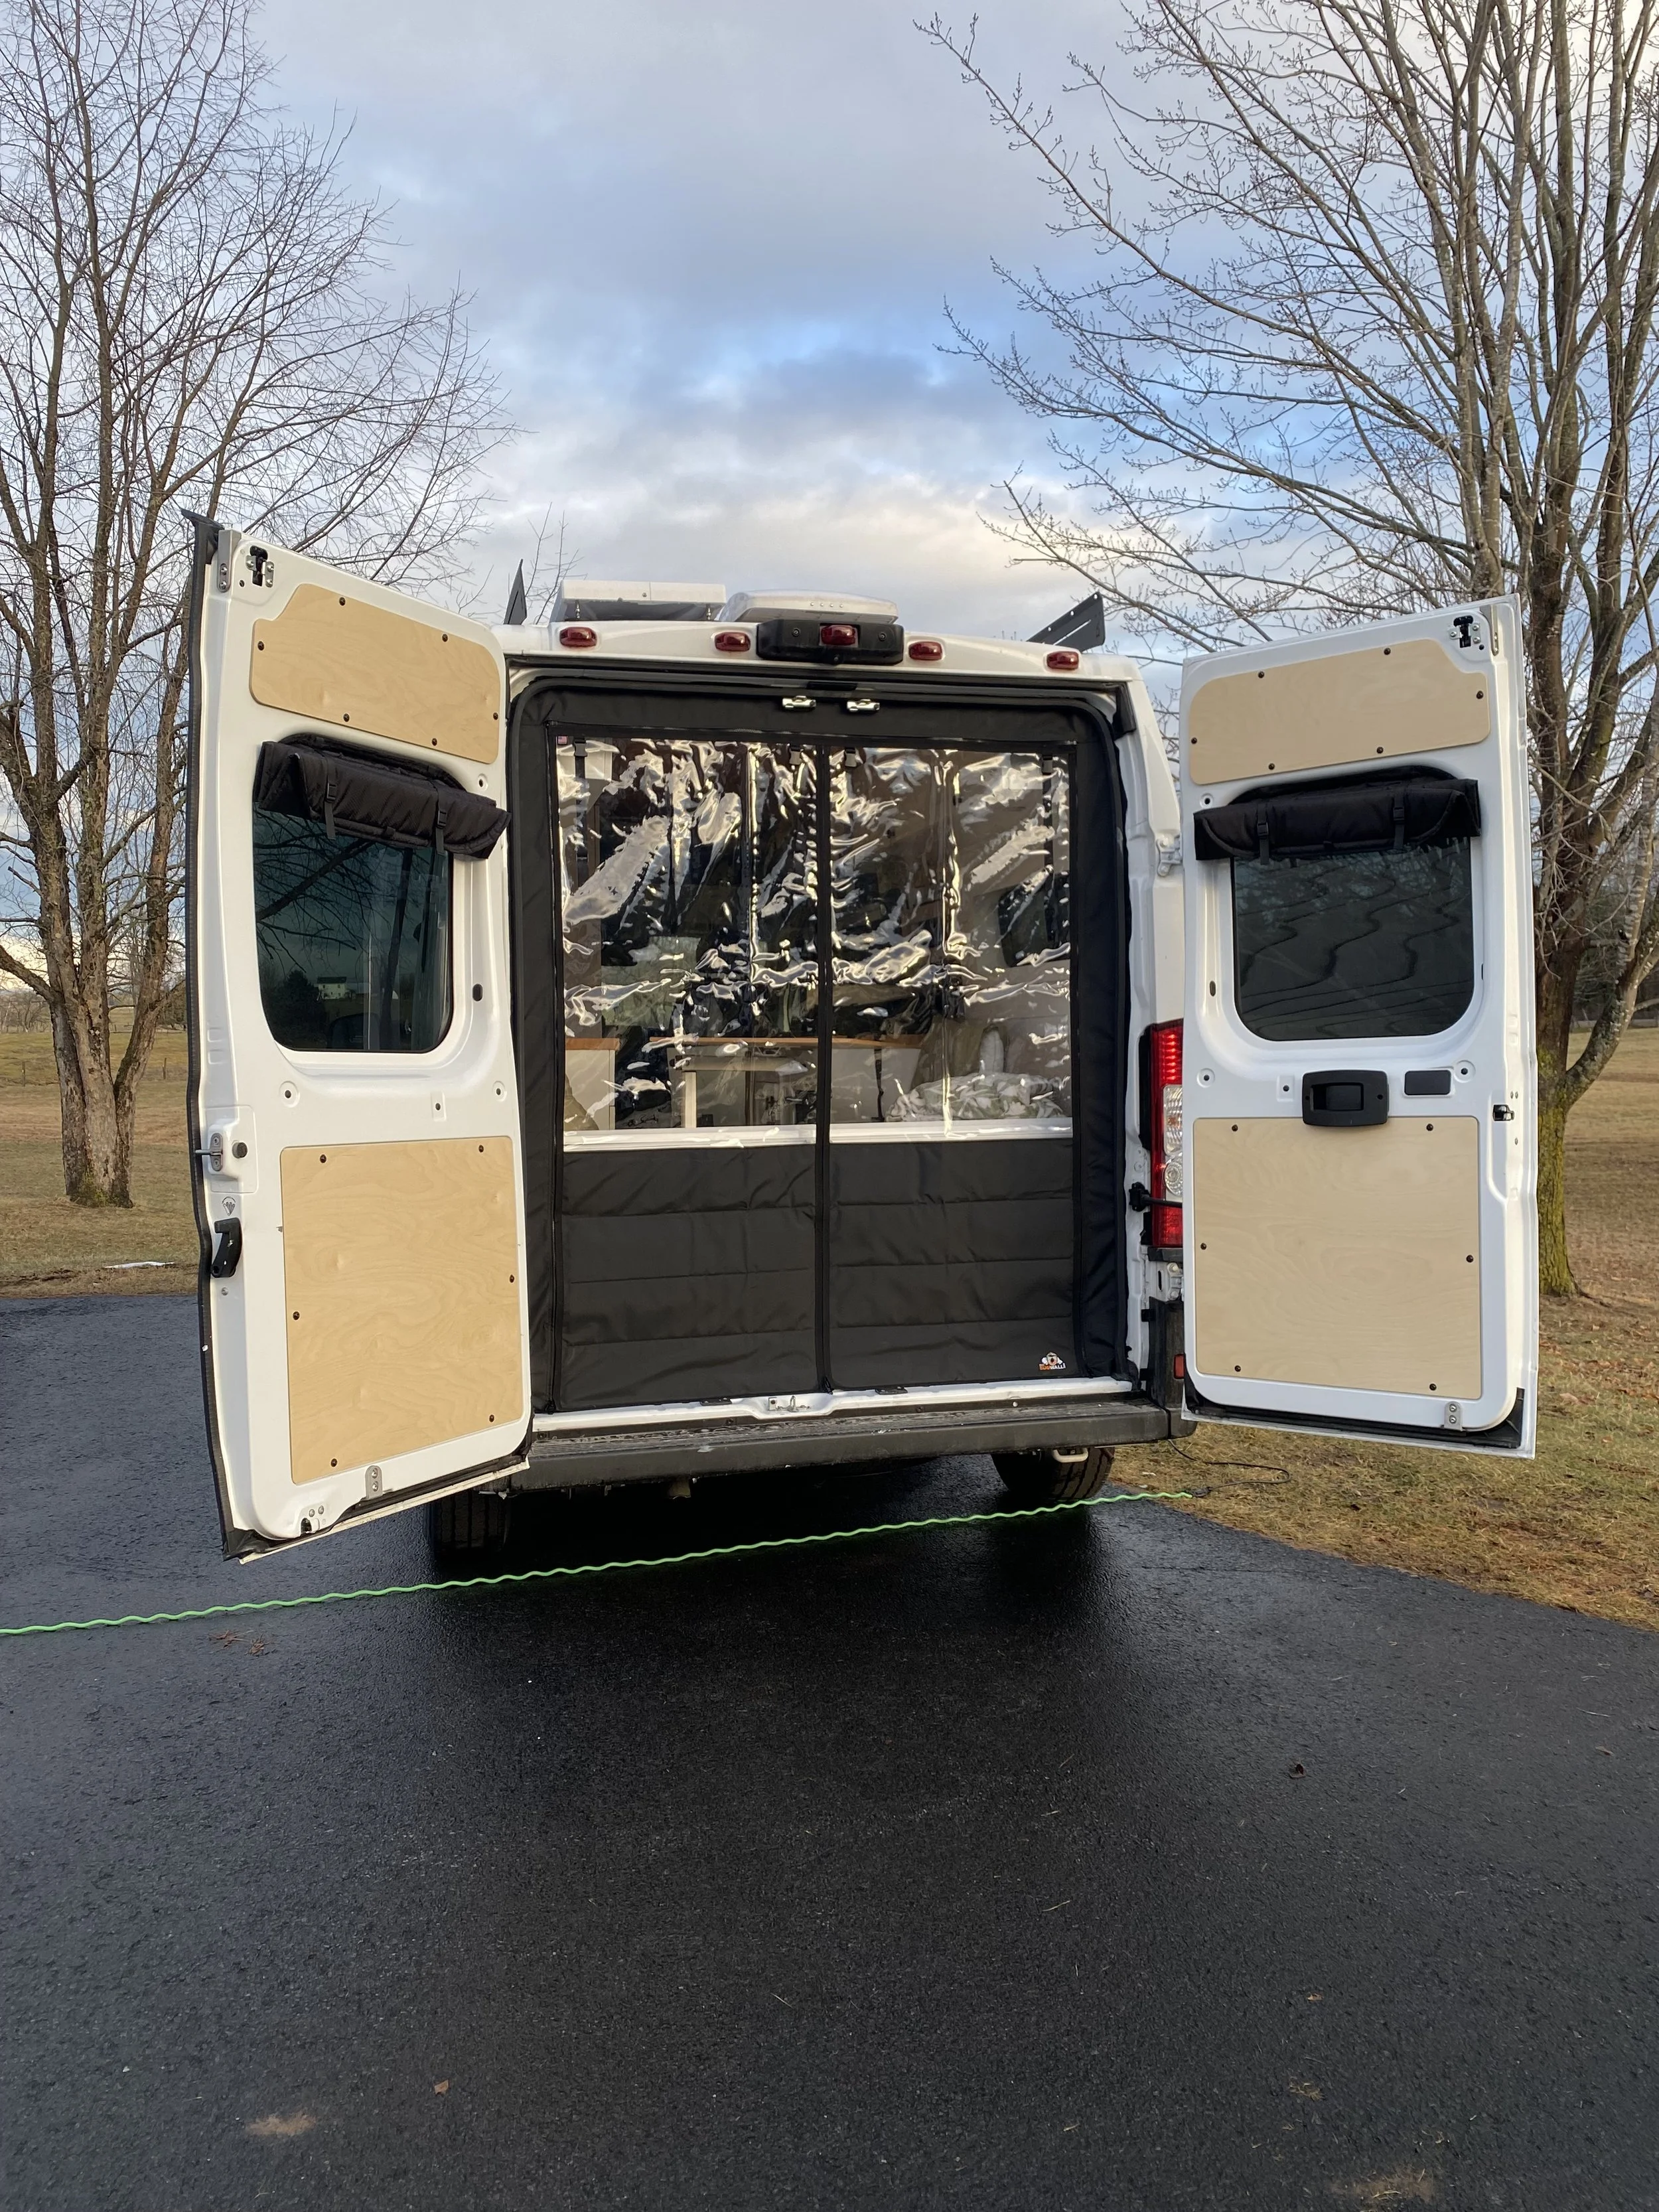
Door Panels
-
CNC cut giving a precise fit
Came unfinished so you can paint, stain or cover in a fabric - however you’d like to finish them to match your build
-
To cover the metal doors and insulation
Make the van feel less like a metal box and more like a home
-
The panels are unfinished so you can match it to your build
Lines up with your van’s manufacturing holes for rivnuts
Holes will need to be slightly expanded with a step up bit
Hold a vacuum nearby to catch metal shavings
-
Everything lines up perfectly
The panels are 1/4” so lightweight but sturdy
Hardware is provided (rivets, washers & bolts)
Out There Vans has door panels for the top and bottom sections of the rear and sliding doors, plus the back corners on the inside of the van
Easy to remove if you ever need to repaid a door mechanism
-
Make your own door panels
VERY time consuming and cumbersome
Lots of stencil work
-
I’m soooo happy I didn’t waste time making my own panels. Absolutely love these!