Ceiling
-
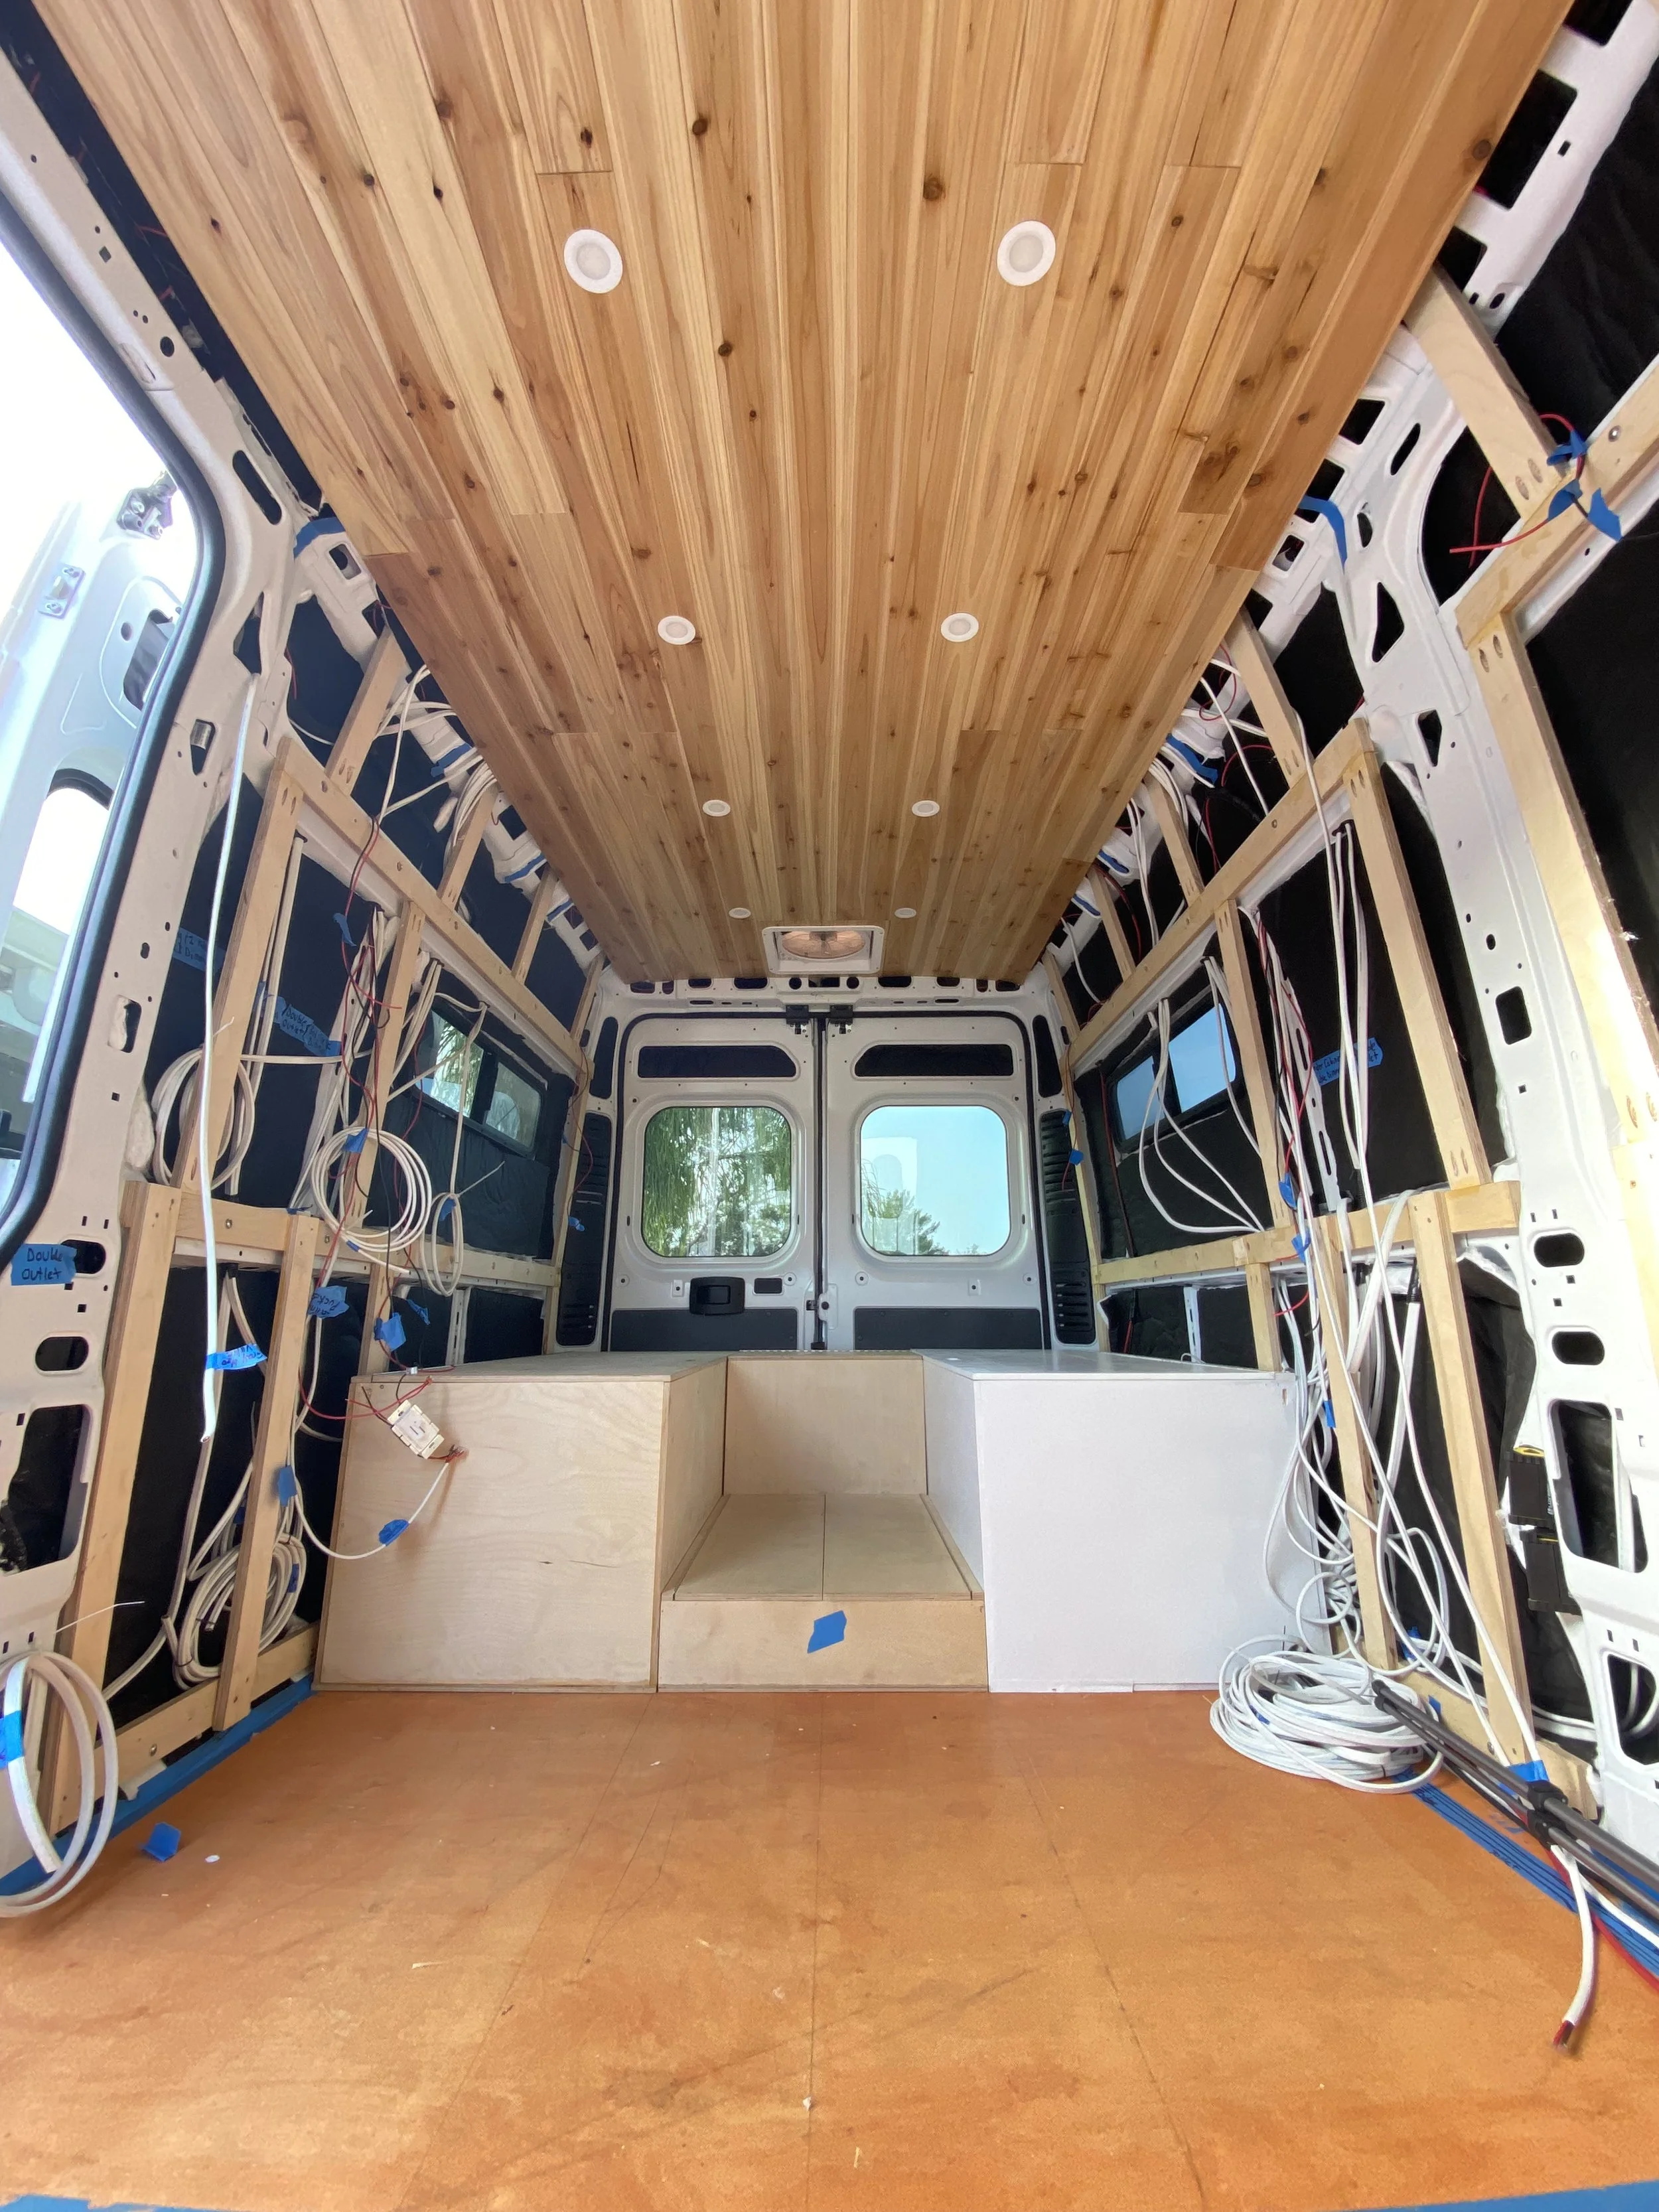
Ceiling Framing
1/2" Baltic birch plywood ripped into 3" wide furring strips
Center boards secured to the ceiling ribs using 1/4-20 and 10-32 plus nuts, machine screws, and washers
The front board in the overhead cab area is secured using M5 rivnuts, machine screws, and washers
Rear furring strips made from 3/4" Baltic birch plywood ripped to 1 1/4" wide and secured with self-tapping screws into the van channel. Built from four separate boards under 8" long to follow the curve and prevent an uneven surface.
Roof fan framing with 1/2” Baltic birch secured using 1" Kreg pocket hole screws and Titebond II Premium wood glue
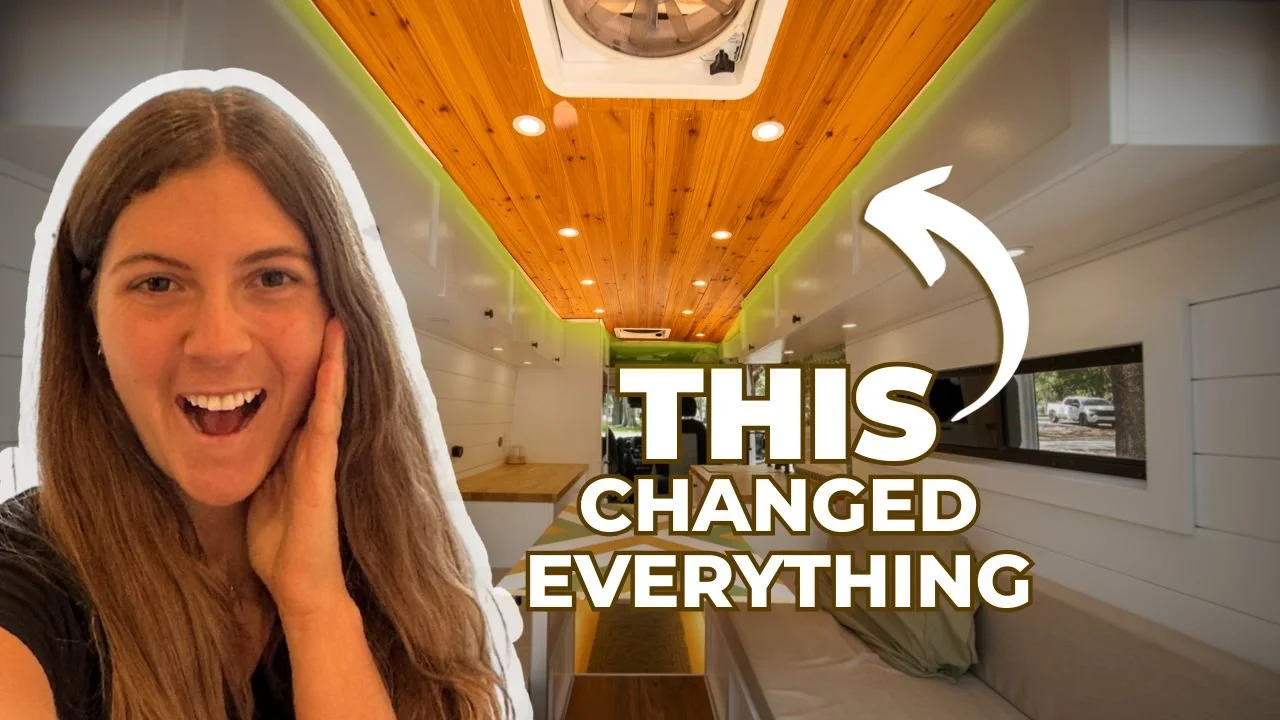
Finished Ceiling
Finished with Minwax Warm Ultra Flat oil-based polyurethane
Installed using 18-gauge brad nails
Nail holes filled using Minwax wood filler
9, 12 volt dimmable puck lights with warm white lighting
Total ceiling thickness is less than 3/4", intentionally kept thin to preserve headroom
-
Tongue-and-groove design adds strength and helps the boards lock together securely
Thin 1/4" boards help reduce weight and preserve headroom
Running the planks lengthwise makes the van feel visually longer
Natural knots and wood grain add character and warmth to the space
-
Framing
Use plus nuts in the factory van rib holes to avoid drilling into the van and creating metal shavings that can get trapped and rust
Install the plus nuts using an Astro 1450 tool for a quick and consistent installation
Use the playdough method to locate the plus nuts on the furring strips so the holes can be drilled accurately for the machine screws
Recess the washer and machine screw into the furring strip so the finished ceiling sits flush
Use 1/2" furring strips for the ceiling framing to save headroom and allow the boards to follow the curve of the van roof
Frame out any roof components such as fans, air conditioners, or skylights before installing the ceiling boards
Ceiling Planks
Start by installing the first ceiling board straight and centered so the rest of the ceiling can be aligned from that reference point
Run the ceiling planks across the full width of the van and install cabinetry over the edges for a cleaner finish
Securing the Ceiling Boards
Brad nails: Fast and easy installation. Fill the holes with wood filler for a cleaner finish
Screws: Very secure but the screw heads will be visible and may split thin boards during installation
Glue: Avoid using glue as it can fail in changing climates
Finishing Tips
Sand only the visible side of the boards, but apply finish to all sides to help protect the wood
Use a gift card when brad nailing to prevent denting the boards and to stop nails from passing completely through the thin planks
Install the fan flange after the ceiling boards to create a clean finished edge around the roof fan opening
Electrical Planning
Be mindful of wiring behind the ceiling and run wires for lights and rooftop components before installing the boards
Wire ceiling lights and rooftop appliances at the same time to avoid reopening the ceiling later
-
Think of the ceiling as two stages: installing the furring strips first, then installing the finished ceiling boards
Install the ceiling after all roof-mounted components such as fans, air conditioners, or skylights are in place
Pre-wire the ceiling before installing the boards so wires can be run across the framing
Plan your ceiling lighting ahead of time
If using puck lights, make sure the ceiling boards are wide enough to accommodate the light body
Ceiling lights should be installed simultaneously while installing the ceiling boards
These specific cedar planks can be somewhat brittle and occasionally arrive warped
However, for the cost savings and reduced weight and thickness, the trade-off can be worth it
Just take your time during installation to avoid cracking or damaging the boards
The boards naturally darken to an amber color over time, which I think adds even more character
-
Full Plywood Ceiling
Large plywood sheets secured directly to the ceiling framing
It’s difficult to avoid seams showing where plywood sheets join together
Thicker Tongue & Groove Boards
Creates a stronger, more rigid ceiling that allows overhead cabinetry to be mounted directly to it
Heavier, more expensive, and thicker, which reduces headroom
Plywood with Decorative Slats
Plywood ceiling with thin wood strips installed over it with spacing between them
Creates a modern slat-style aesthetic while hiding seams
-
I love my ceiling — it’s lightweight, thin, and the natural knots and grain add a lot of personality. It’s very secure and I’ve had no issues using brad nails. People always compliment the ceiling when they see my van.
Related Resources
Watch the Tutorial
Shop Product Links


As an Amazon Associate, Lauren will receive a small commission from any qualifying purchases made through these links, at no additional cost to you.Thank you for your support!Ready to build with confidence?
Follow step-by-step installation guides that break down the most complex parts of the build into clear, manageable steps.
Need help planning your build?
Book a 1:1 Consultation