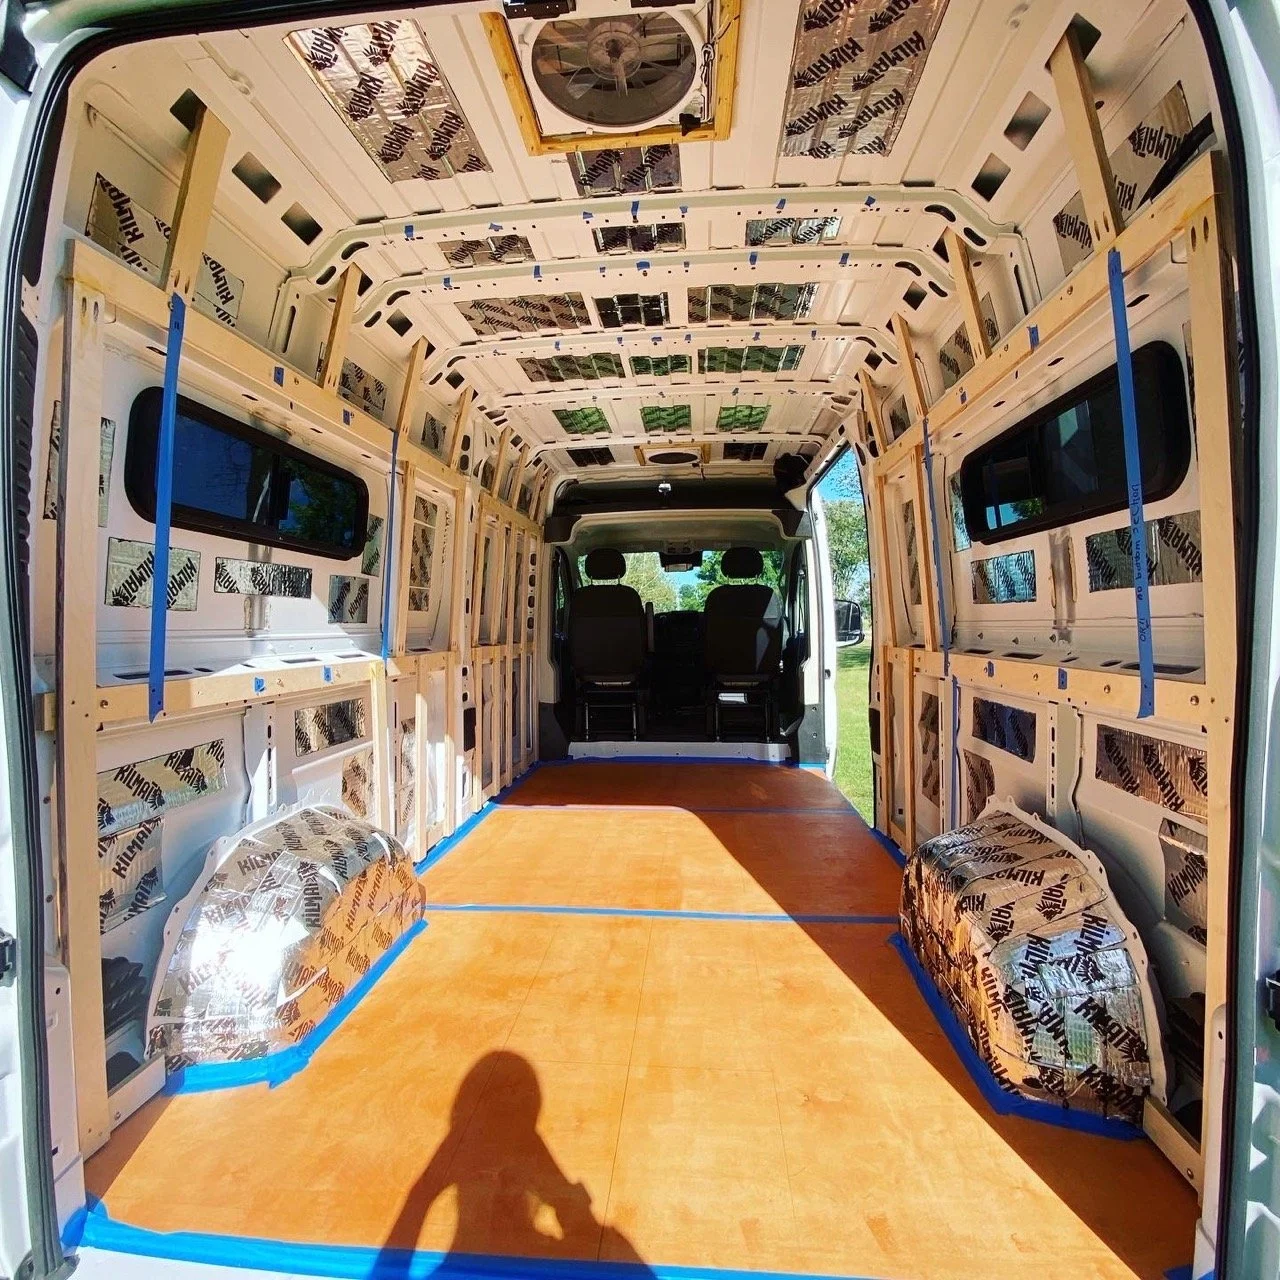
Framing
-
Walls
3/4" Baltic birch plywood ripped into 2.5" wide furring strips
Horizontal strips secured to the van ribs using 1/4-20 and 10-32 plus nuts, machine screws, and washers
Vertical strips in the middle and upper sections secured between the horizontal strips with 1 1/4" Kreg pocket hole screws and Titebond II Premium wood glue
Vertical strips in the lower section secured on top of the horizontal strips using 1 1/4" wood screws and Titebond II Premium wood glue
Ceiling
1/2" Baltic birch plywood ripped into 3" wide furring strips
Center boards secured to the ceiling ribs using 1/4-20 and 10-32 plus nuts, machine screws, and washers
The front board in the overhead cab area is secured using M5 rivnuts, machine screws, and washers
Rear furring strips made from 3/4" Baltic birch plywood ripped to 1 1/4" wide and secured with self-tapping screws into the van channel. Built from four separate boards under 8" long to follow the curve and prevent an uneven surface.
Roof fan framing with 1/2” Baltic birch secured using 1" Kreg pocket hole screws and Titebond II Premium wood glue
-
Provide solid attachment points for the walls, ceiling, and cabinetry
Create a consistent surface to build against throughout the van
Allow space for insulation, wiring, and other systems behind the walls and ceiling
-
Break the wall framing into three horizontal sections: lower, middle, and upper
Secure the horizontal furring strips to the van ribs using plus nuts in the factory holes
Using plus nuts avoids drilling into the van body, which creates metal shavings that are difficult to clean and will rust
Plus nuts provide long, strong threaded attachment points, to securely mount cabinetry and other heavy items
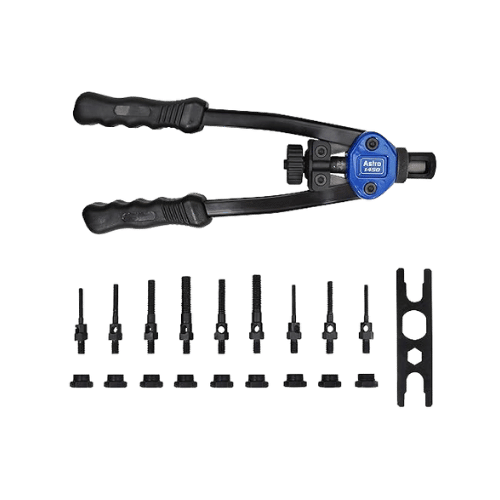
I used an Astro 1450 tool to install the plus nuts quickly and consistently - watch the video below to see how the tool works and install tips
For the upper wall section, I rested the top of the vertical framing board inside the van channel instead of drilling into the van. I hadn’t seen others do this at the time, but it has held up without issues for over four years
Test fit the boards with the drilled holes and plus nuts before using a paddle bit to recess the bolt head so the machine screw sits flush and doesn’t interfere with wall panels or cabinetry. I only needed to inset the bolt head on the upper horizontal furring strip since the lower vertical boards sit further out and would be the main attaching point.
Watch the video below to see how I used playdough to locate the exact plus nut position to drill the hole for the machine screw to align properly
-
Install the subfloor first, since the wall framing will partially overlap and lock it in place
There is no need to use wall framing thicker than 3/4", as it adds unnecessary weight and reduces usable interior space
Use 1/2" plywood for the ceiling framing to preserve headroom and allow boards to follow the curve of the van roof more easily
Only install furring strips where they will be needed for walls, ceiling panels, or cabinetry — plan their placement based on your layout to avoid unnecessary material
Using slightly wider furring strips makes it easier to hit them when attaching walls, cabinetry, and other components
Follow the natural curve of the van walls, but try to keep the lower section as square as possible for cabinetry. If needed, cabinetry can be scribed to the wall to match the curve
I prefer using plus nuts over rivnuts and self-tapping screws for stronger threaded attachment points, a more secured grip and to avoid drilling into the metal of the van
-
No Framing
Attach cabinetry directly to the van structure and stencil components to match the curve of the walls
This approach requires more custom fitting for each component
Add Furring Strips As Needed
Instead of fully framing the van, install furring strips as you go when needed
L-Track Mounting System
Install L-track in the floor or along the wall ribs to create mounting points for cabinetry and other components
80/20 Aluminum Extrusion
Use 80/20 aluminum channels mounted to the van ribs to create a modular structure for attaching interior components
Personally, I prefer framing the van because it creates a consistent foundation that allows you to easily attach walls, cabinetry, and other components at any stage of the build.
-
I would frame the van the same way again using the same materials and approach.
Related Resources
Watch the Tutorial

Shop Product Links


As an Amazon Associate, Lauren will receive a small commission from any qualifying purchases made through these links, at no additional cost to you.Thank you for your support!← Subfloor
Ready to build with confidence?
Follow step-by-step installation guides that break down the most complex parts of the build into clear, manageable steps.
Need help planning your build?
Book a 1:1 Consultation