Roof Fans
-
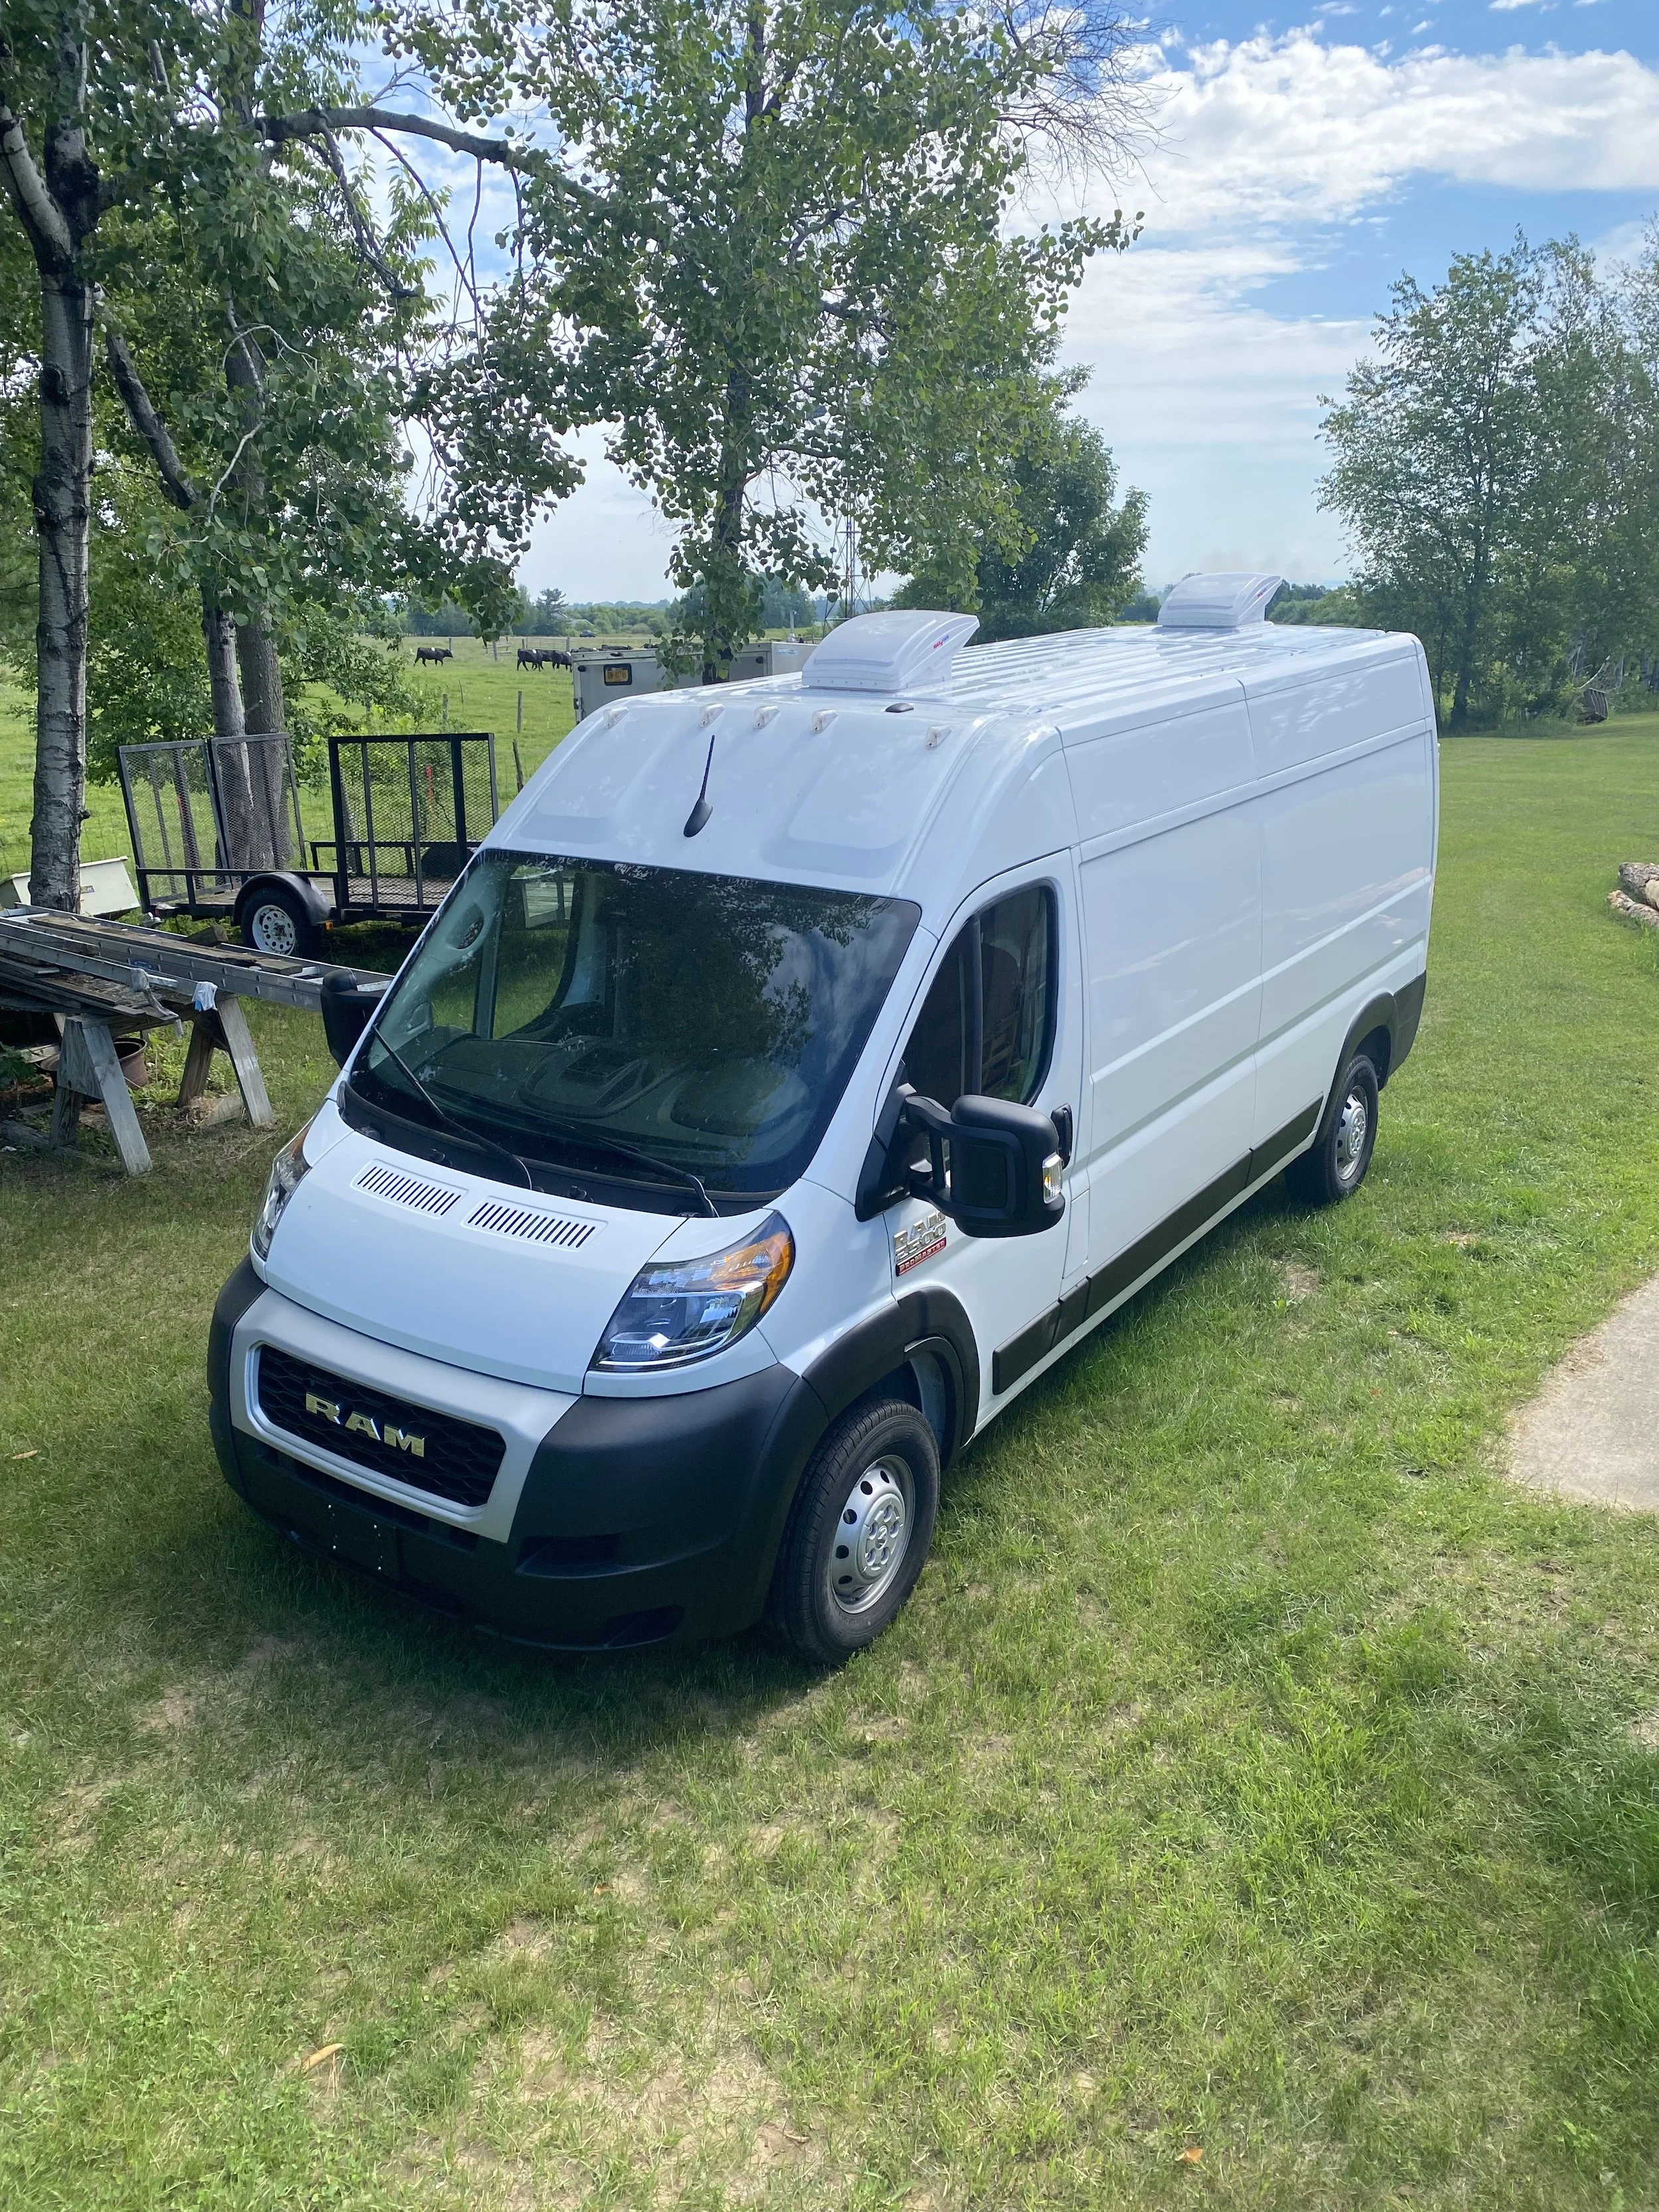
Two 12 volt MaxxAir Fan Deluxe 5100 roof fans
Built-in rain guard
Intake & exhaust modes
10 speed
White finish to blend with the van roof
One installed in the front near the kitchen and one in the back over the bed
-
Pull fresh air into the van
Remove odors and moisture
Create airflow throughout the van
Help regulate interior temperature
Reduce condensation buildup
-
Plan placement around other roof components and interior layout
Measure twice, cut once
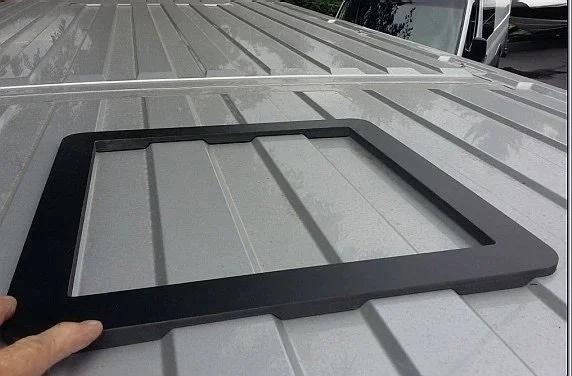
Cutout size: 14” x 14”
Apply painter’s tape to the van roof and the base of the jigsaw to prevent scratches and create a visual cutting guide
Thoroughly clean all metal shavings inside the van and on the roof after cutting to prevent rust
Paint the newly exposed metal with a rust preventative
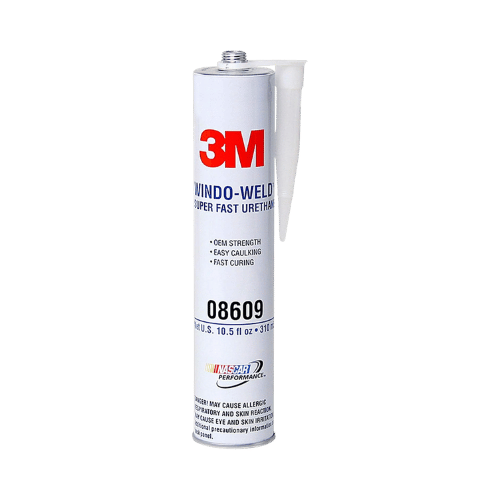
Use a fan adapter with 3M window-weld when installing on ribbed roof sections
The fan consists of three main pieces: the fan unit, the roof flange that secures the fan to the van, and the interior trim ring that finishes the opening after the ceiling is installed
Use butyl tape under the flange and self-leveling lap sealant on top to create a watertight seal and prevent leaks
-
A roof fan circulates air but does not create cold air like an air conditioner
Available with or without a remote control
Available in black or white
Install at least one fan, and up to two for improved airflow
Use fan covers to block out light and help retain heat in colder weather
A 12 volt roof fan is more efficient if you have a 12 volt battery bank, since no power conversion is required
Cutting a hole in the roof reduces its structural strength, so be mindful when moving around on the roof to avoid damage
After the sealant has cured for 24 hours, spray the area with water to test for leaks
Install roof fans early in the build so metal shavings are easier to clean and the ceiling can be built around the fan
-
Since I don’t use the fans often, I’d prefer having colder air when traveling in warmer climates. For my next build, I’d install one roof fan in the front near the kitchen and an air conditioner over the bed instead of two roof fans.
Related Resources
Watch the Tutorial


Shop Product Links


As an Amazon Associate, Lauren will receive a small commission from any qualifying purchases made through these links, at no additional cost to you.Thank you for your support!Want the full step-by-step instructions?
Download the detailed installation guide that walks through this project from start to finish.
Ready to build with confidence?
Follow step-by-step installation guides that break down the most complex parts of the build into clear, manageable steps.
Need help planning your build?
Book a 1:1 Consultation